How to make a glass cutting board
After years of cutting directly on our light table I decided I finally wanted my own glass cutting board like my mom’s. Her brother made it for her in the late 70’s and not only has it held up perfectly over the years it has a great semi-cushioned surface for cutting on and a nice straight edge to use our strip cutters with.
I wasn’t able to find exactly everything my uncle used on my mom’s board, but found nice alternatives and with what we already had and the few things I needed to buy, I only spent around $25 (edit: I didn’t pay close enough attention to my recipes, I actually spent $38). If you don’t already have the right sized board you want laying around expect to spend more—I only had to buy the fabric (and because of the way it’s sold I had to get enough to make 2), the two metal bars and a pack of screws because we had everything else laying around the studio.
Mom’s 40ish year old cutting board
How we made it:
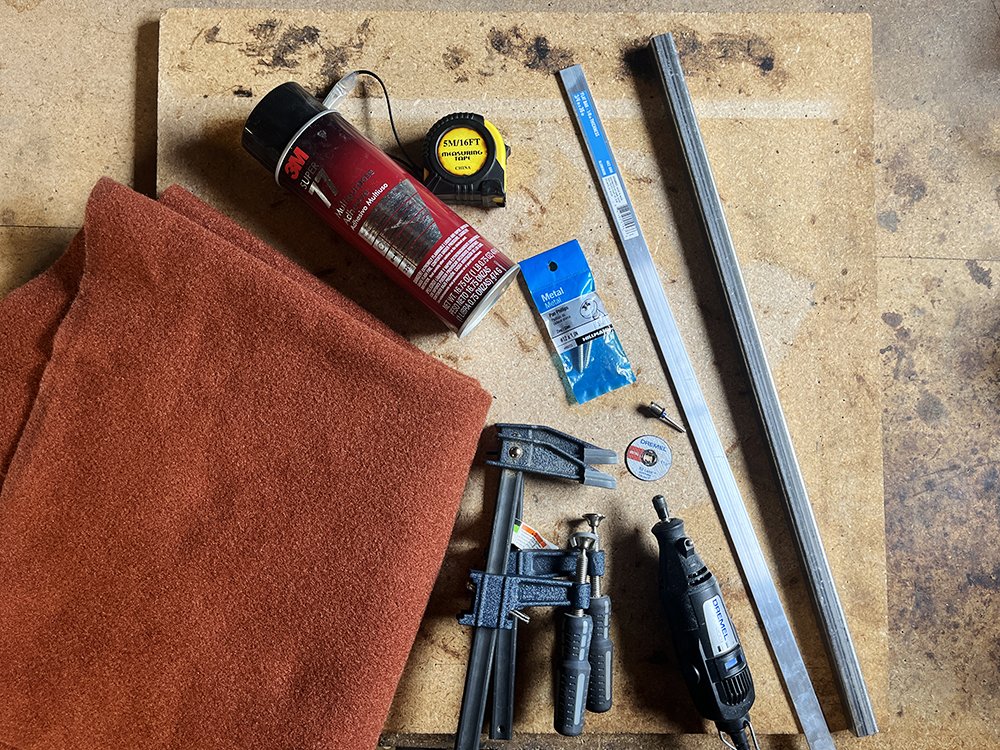
Things you’ll need:
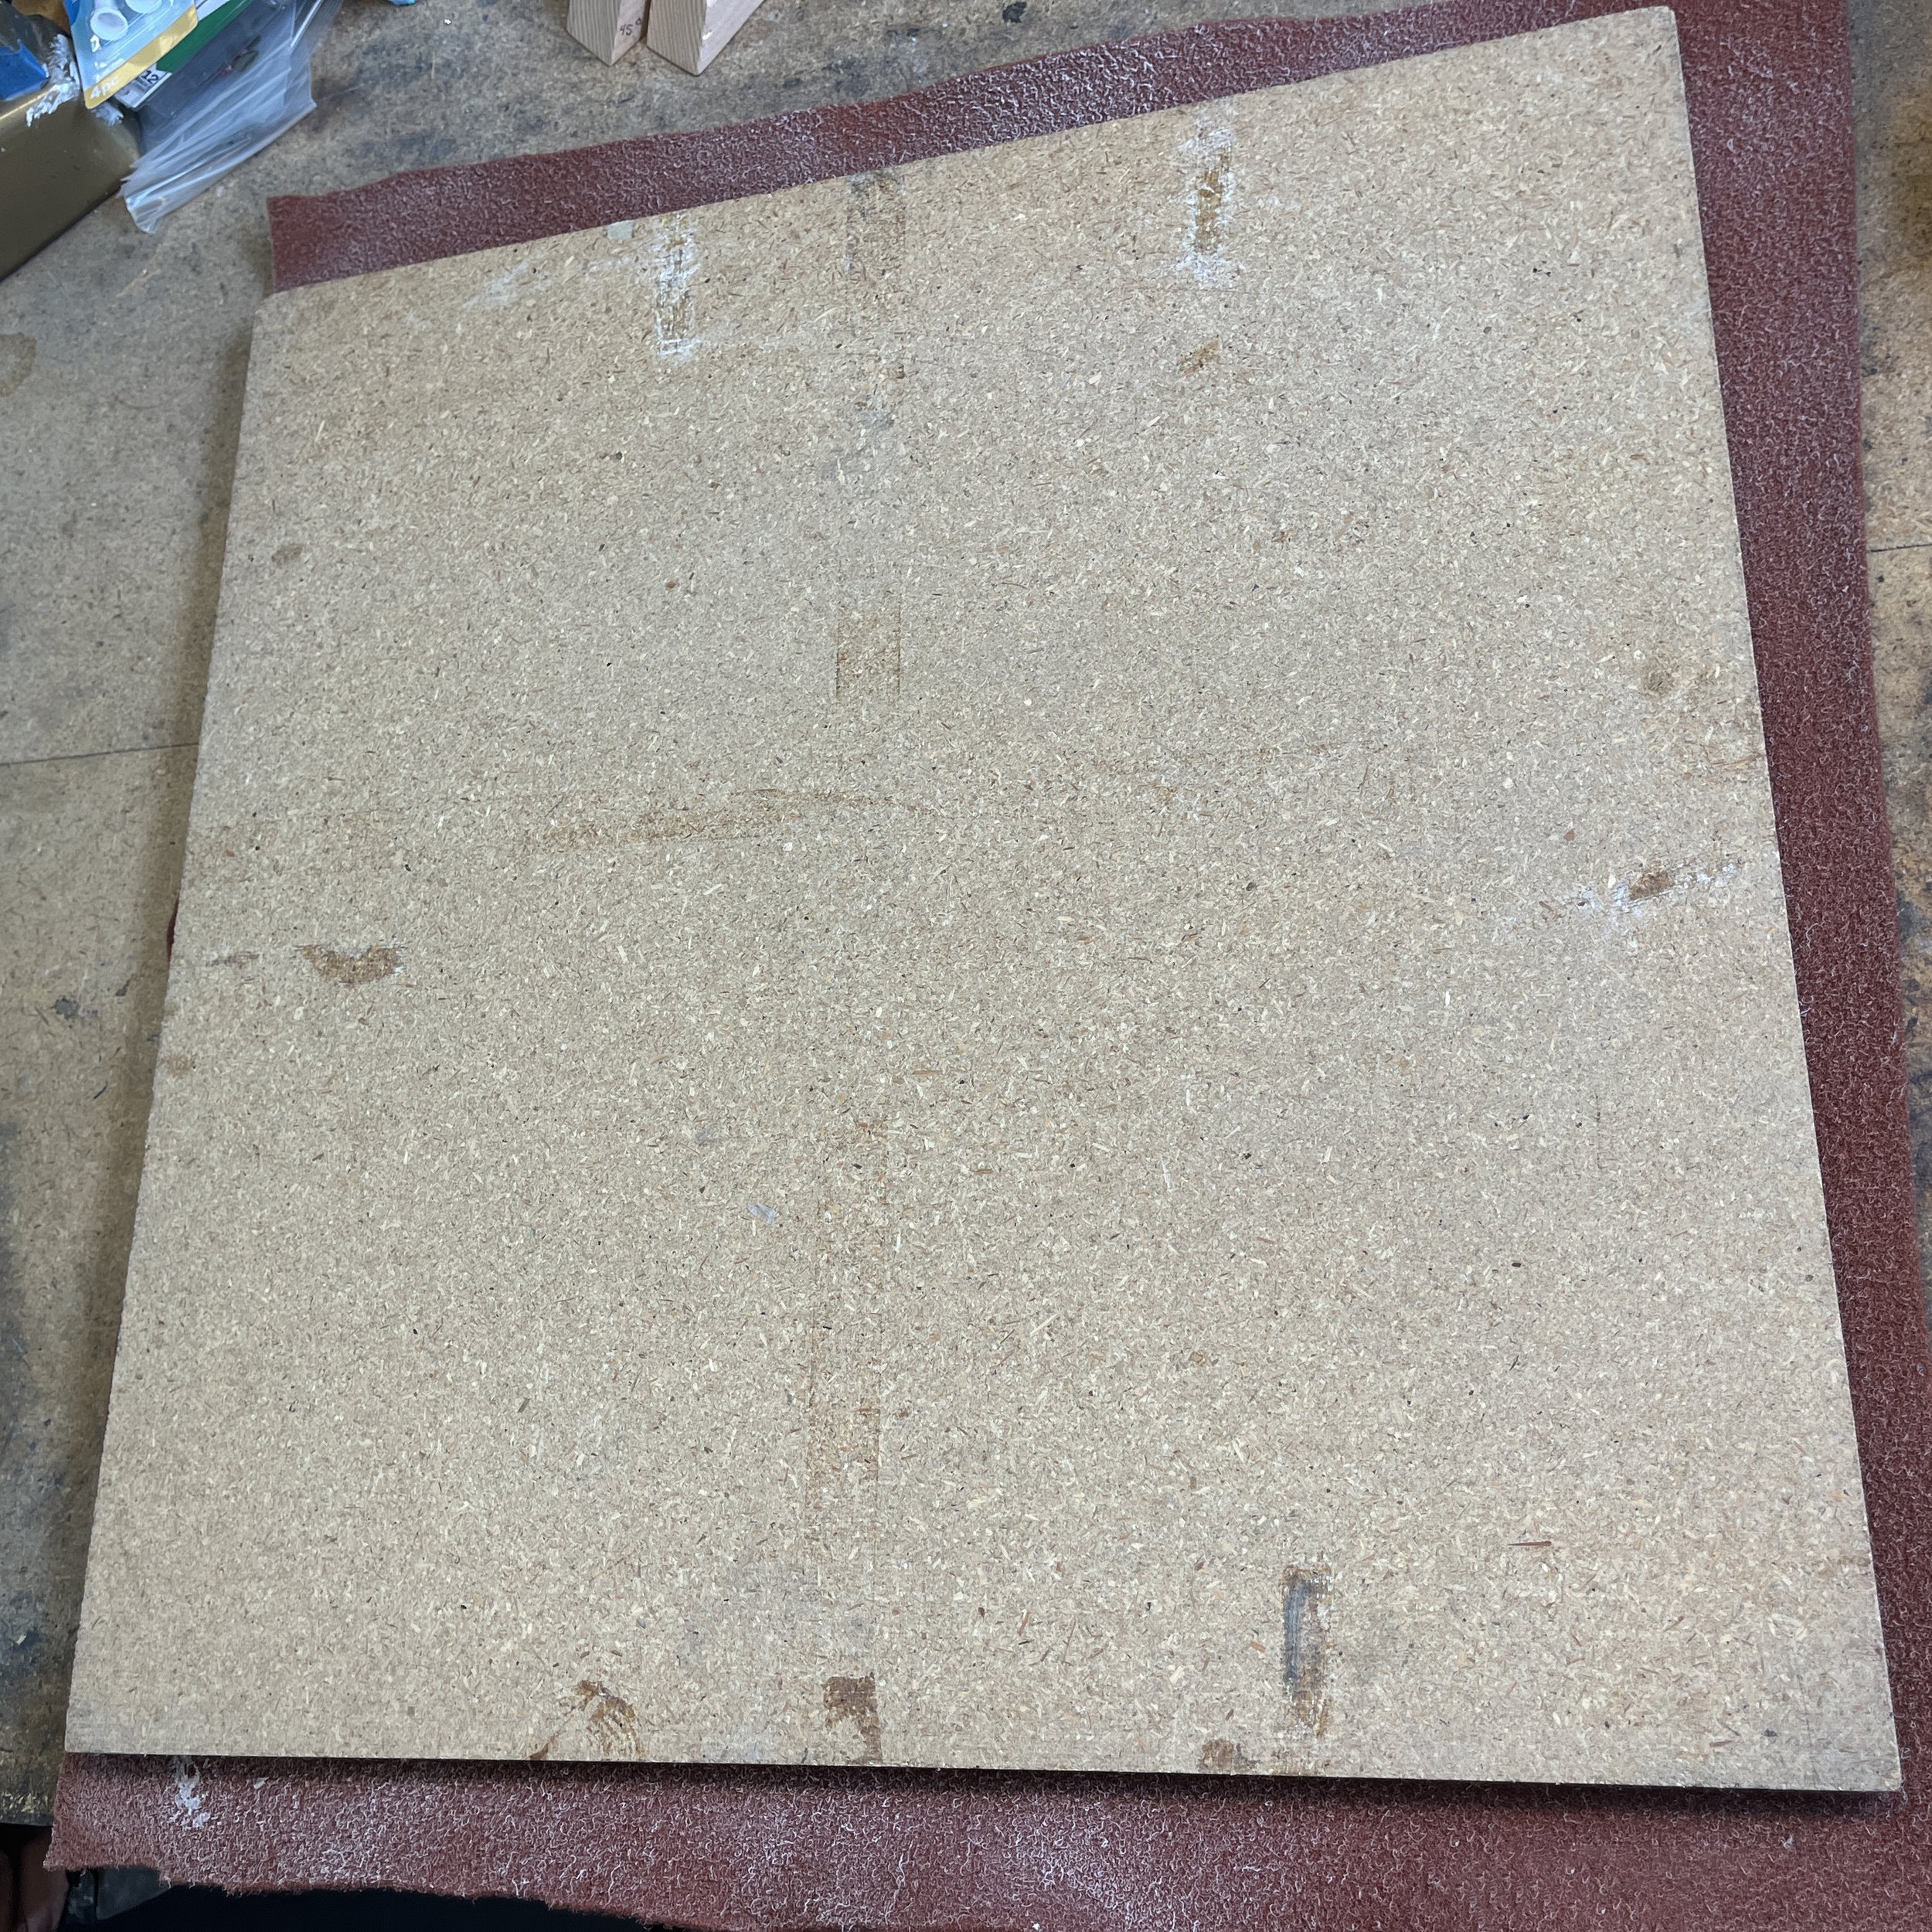
board the size of your choosing. Mine is about 24”x24”
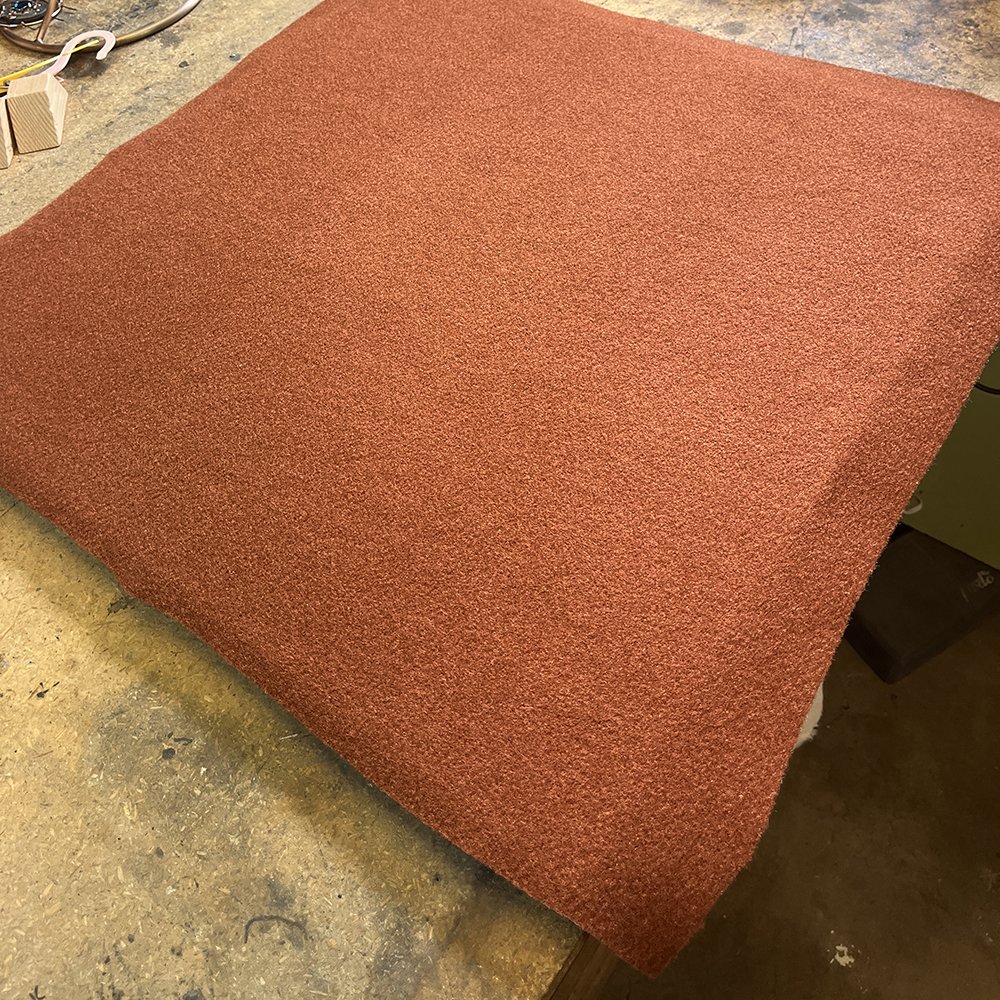
Indoor/outdoor carpet—approx 1/8” thick and enough to cover slightly more than your board
metal bar—3/4” high and the length of your board—the one I found is hollow (unlike my mom’s) but it made it easier to work with.
metal bar—1/8” thick and slightly shorter than the length of your board
spray adhesive
C Clamps
5 1” long screws
5 3/4” long Screws
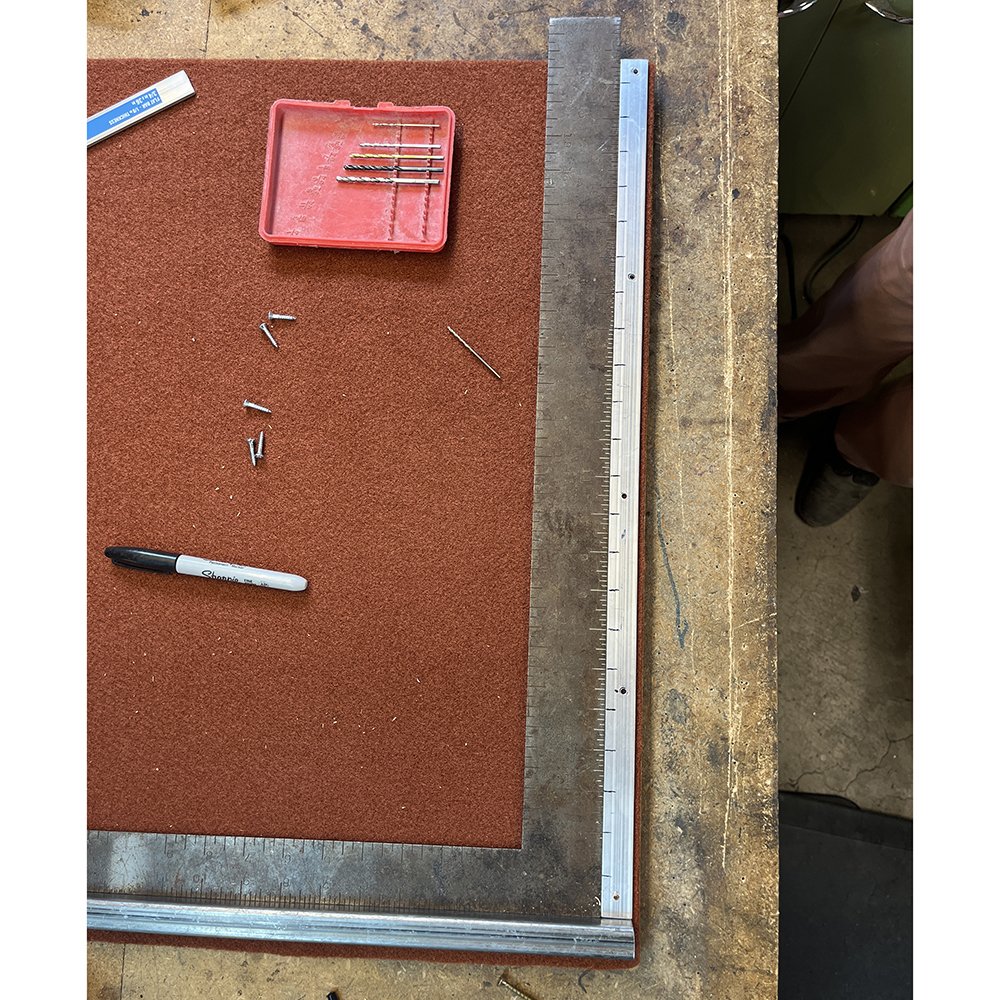
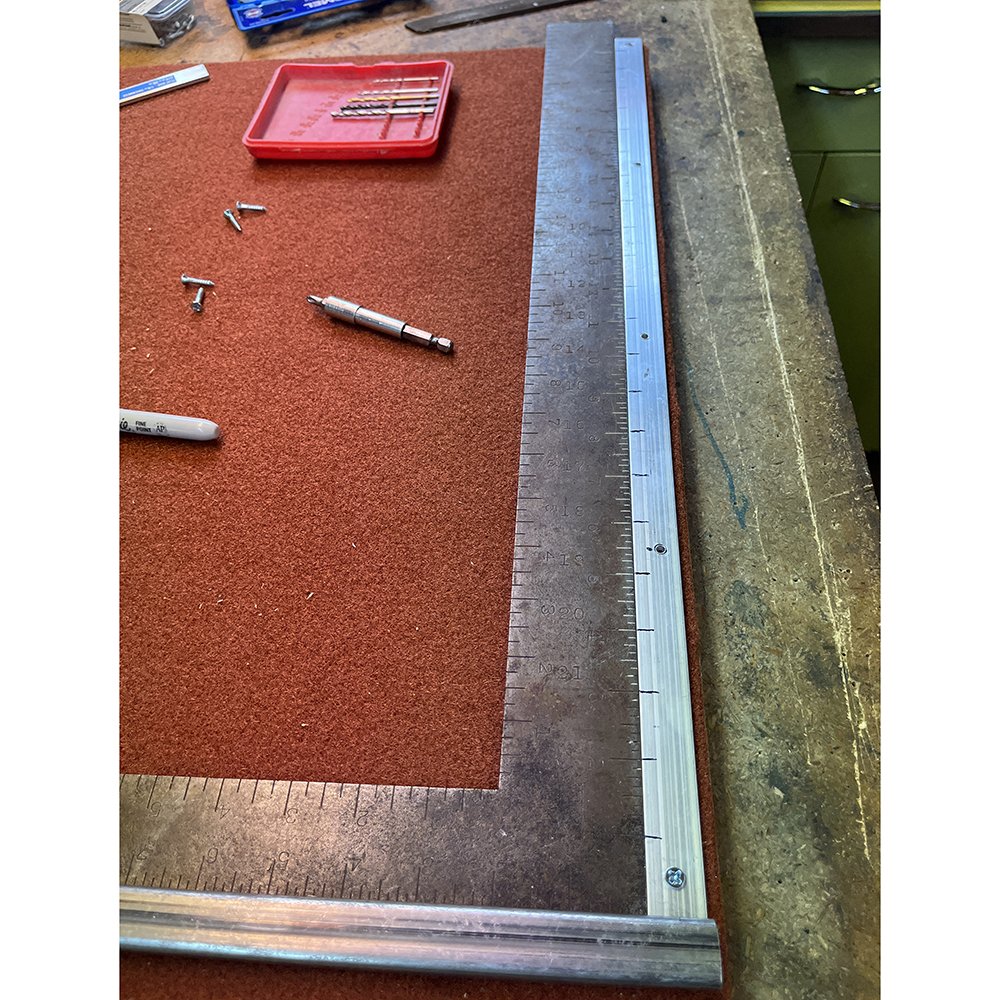
measureing tape
drill
xacto knife
dremel with a metal cutting wheel
metal file
right angle
sharpie
1. I decided to use a board that was hanging out in our studio and already cut to about 24”x24”. Since it had been used as a project board and had had nails hammered into it, I used a straight razor to scrape the surface/prep the board and make sure it was smooth.
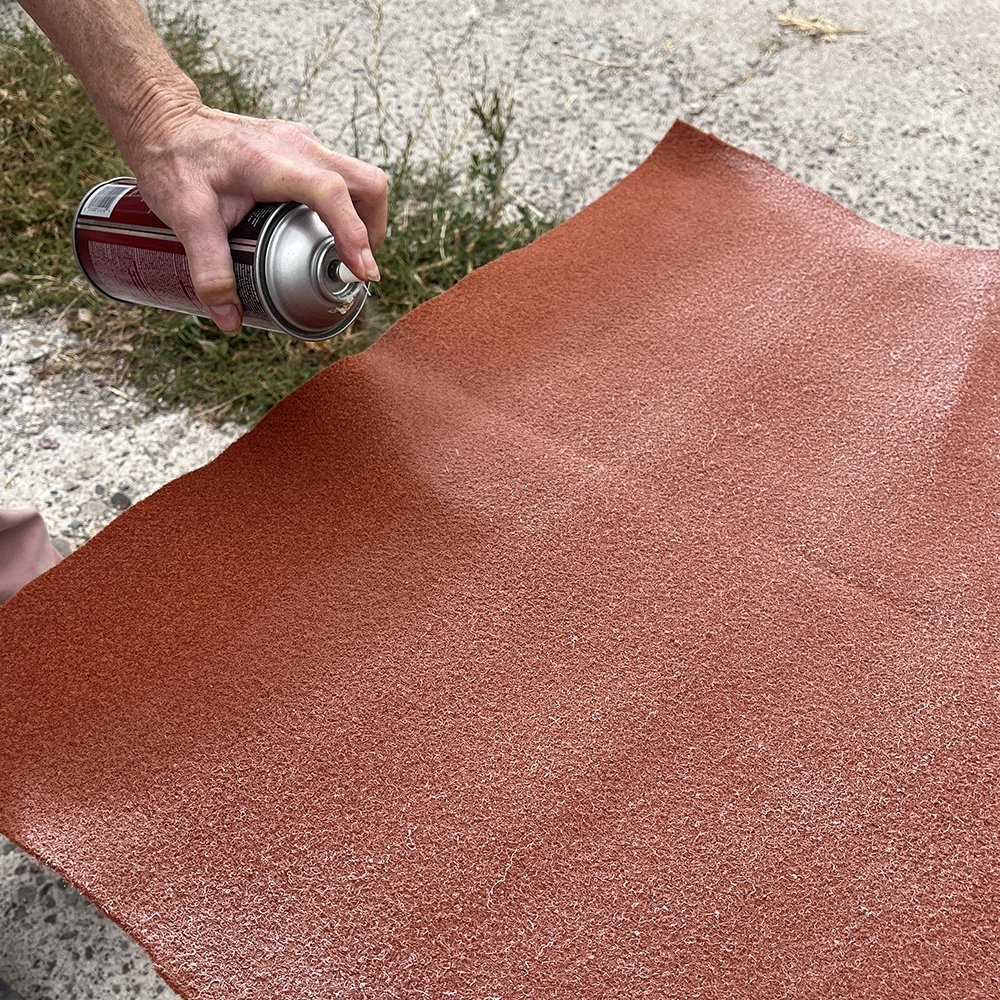
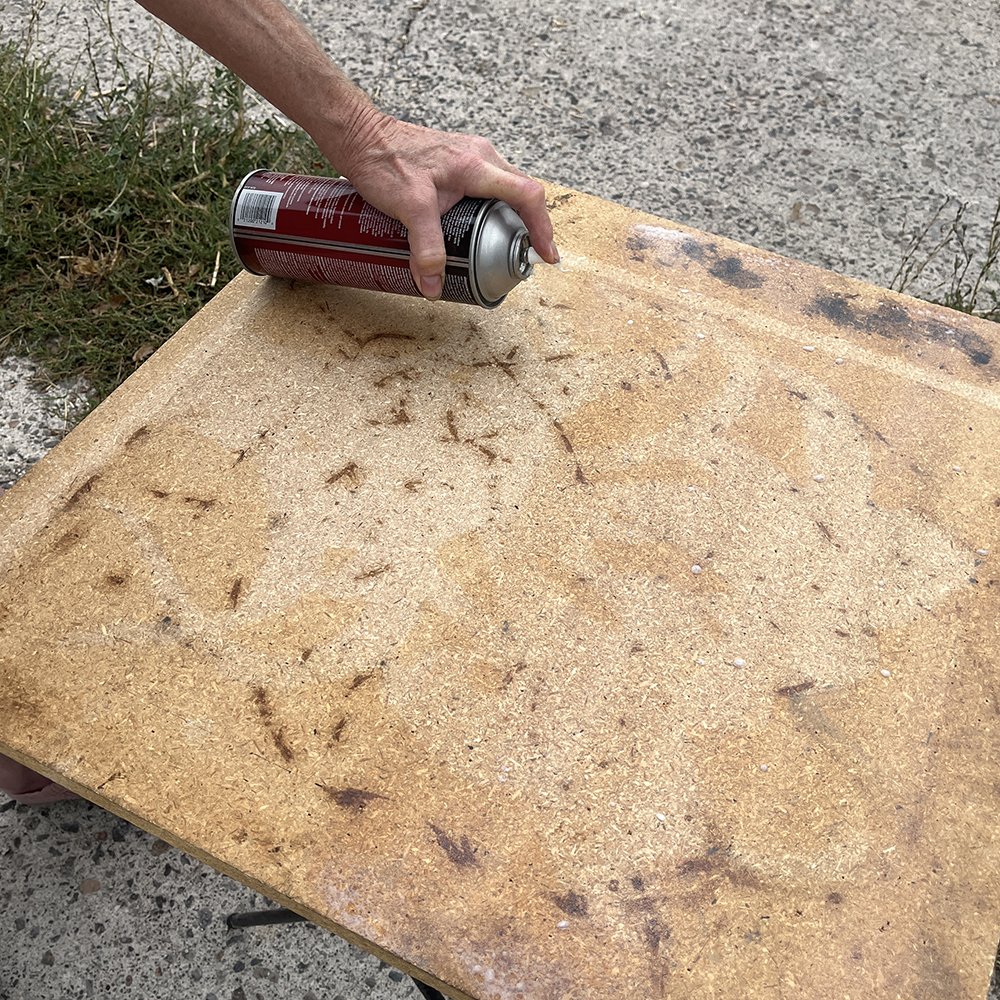
2. I tested my strip cutter on the metal bar with the fabric both next to and under it to see which orientation would ensure the cutter was at the proper height to work. Unlike how my mom’s board is made, my materials required the fabric to be under the strip cutting bar. So we glued the fabric down first. I cut my fabric to approximately the size of the board with a little bit of overhang on all sides. The spray adhesive we used required an even coat and to sit for about 30 seconds before adhering. We sprayed both the back of the fabric and the front of the board.
3. I didn’t get a photo of us laying down the fabric because we both did it, but we each held one side, starting at the back of the board we slowly laid the fabric down, smoothing it out as we worked our way to the front. Once the fabric was smoothed out we flipped the board over so the glue could dry while pushed down by the weight of the board.

4. Once the adhesive is dry, use an xacto knife to cut the excess fabric off all sides of the board. We found that a new blade was very helpful on this step.
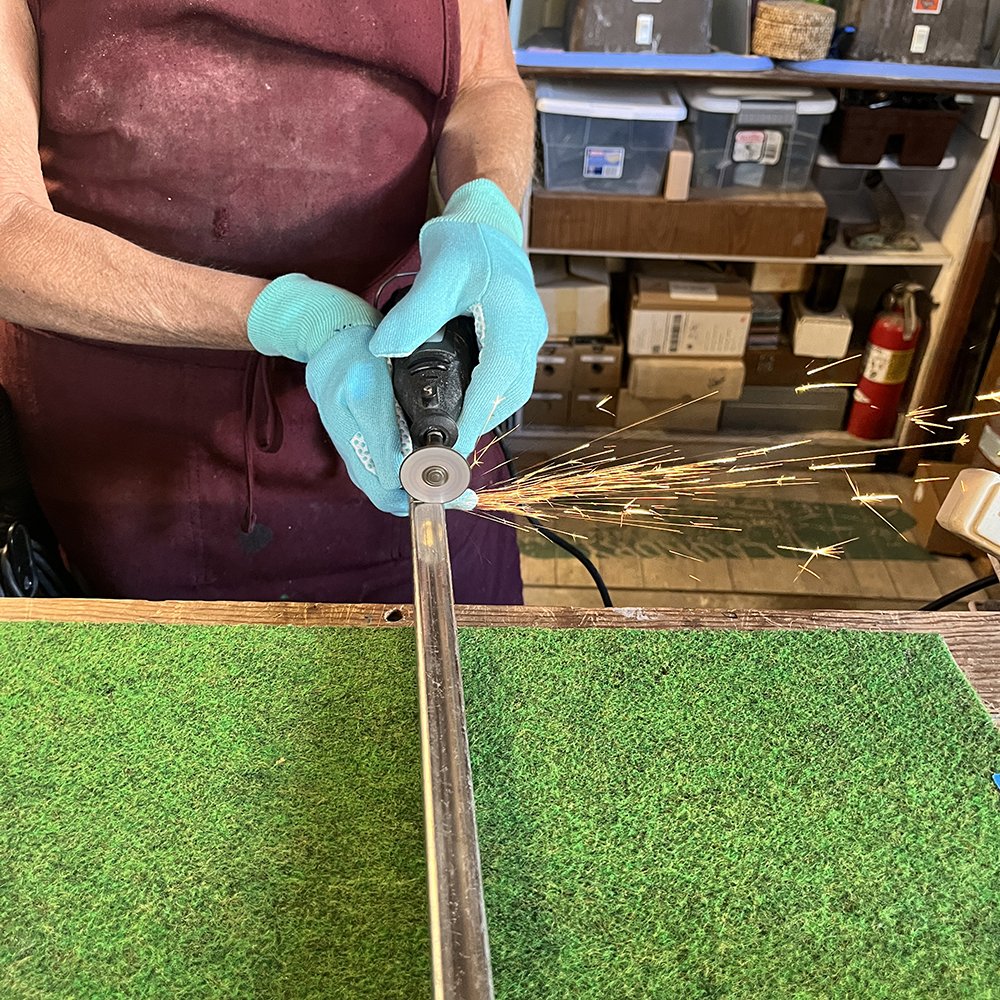
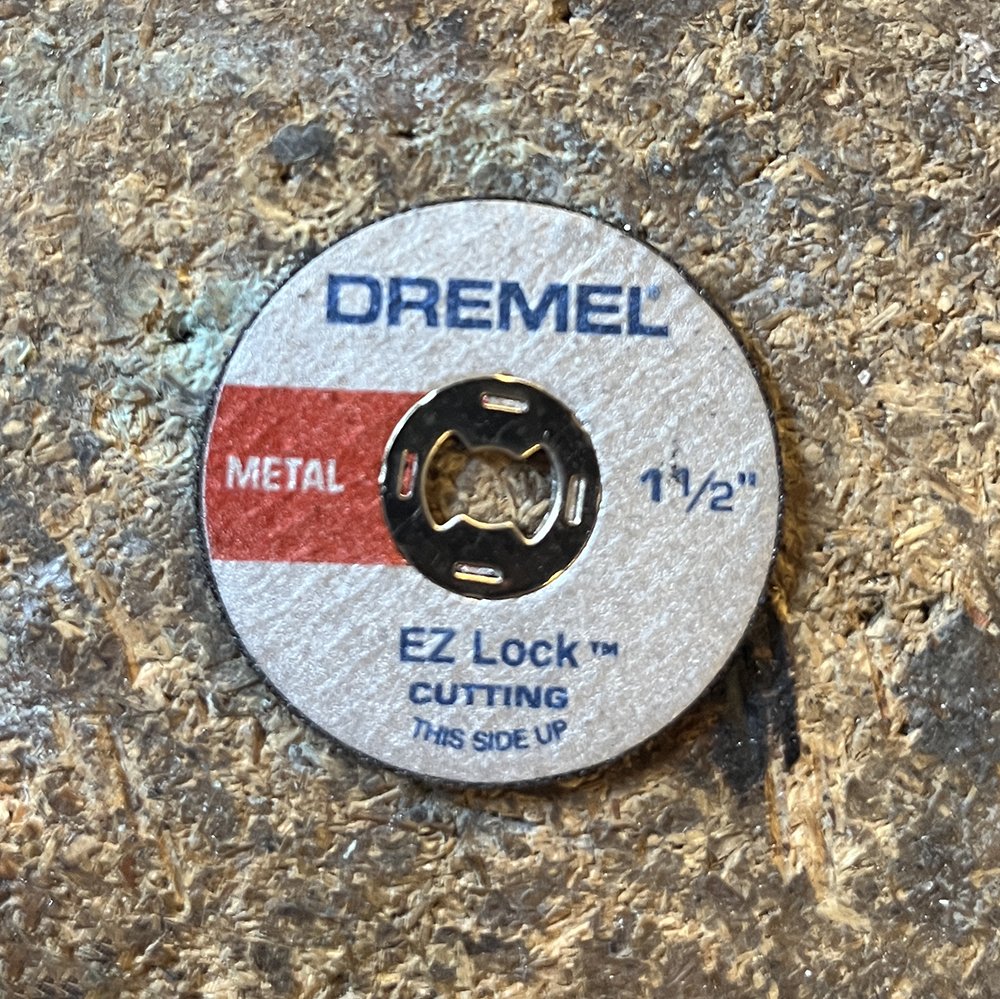
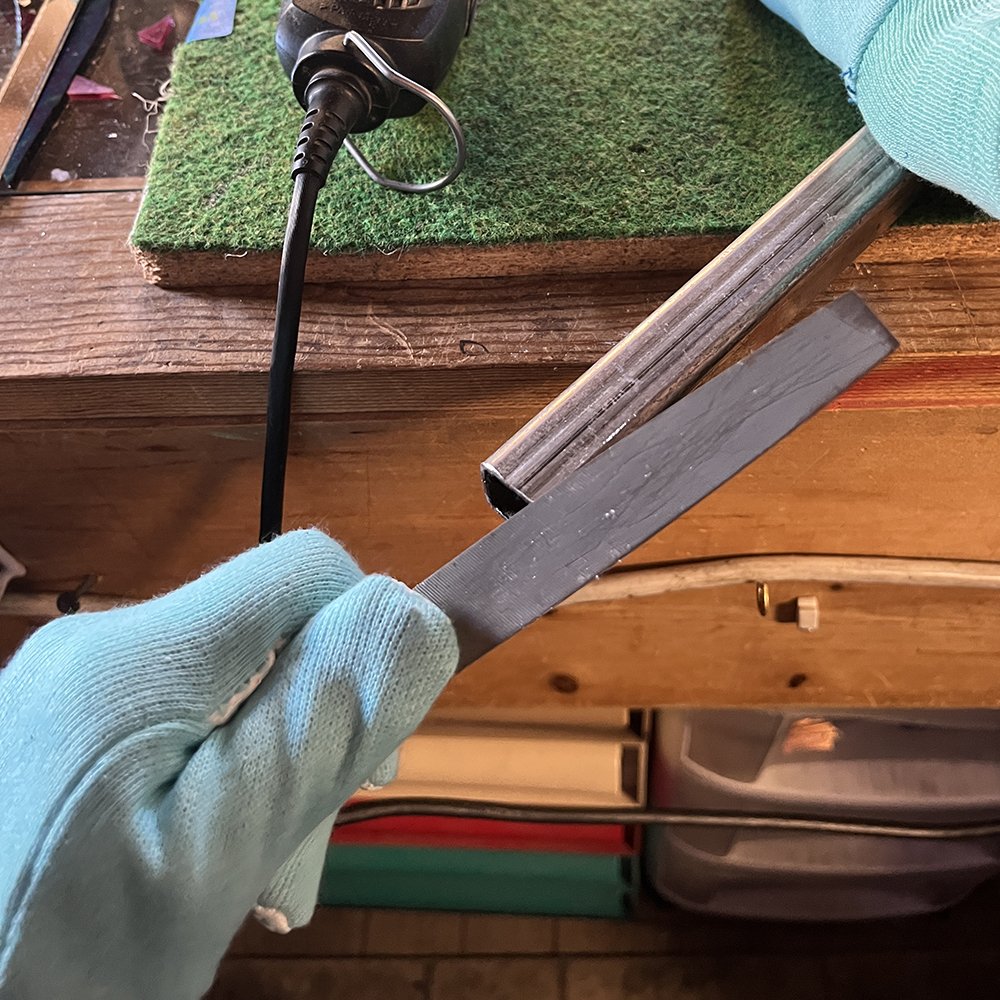
5. The only 3/4” high metal bar I could find was 3ft long so we had to cut it down. We decided it would be best to have the metal bar slightly shorter than the board just to leave some room for error. We cut it at approximately 23.5”. We used our Dremel with an EZ lock metal cutting wheel. Once the bar was cut we used a metal file to smooth out any rough spots on the cut edge.

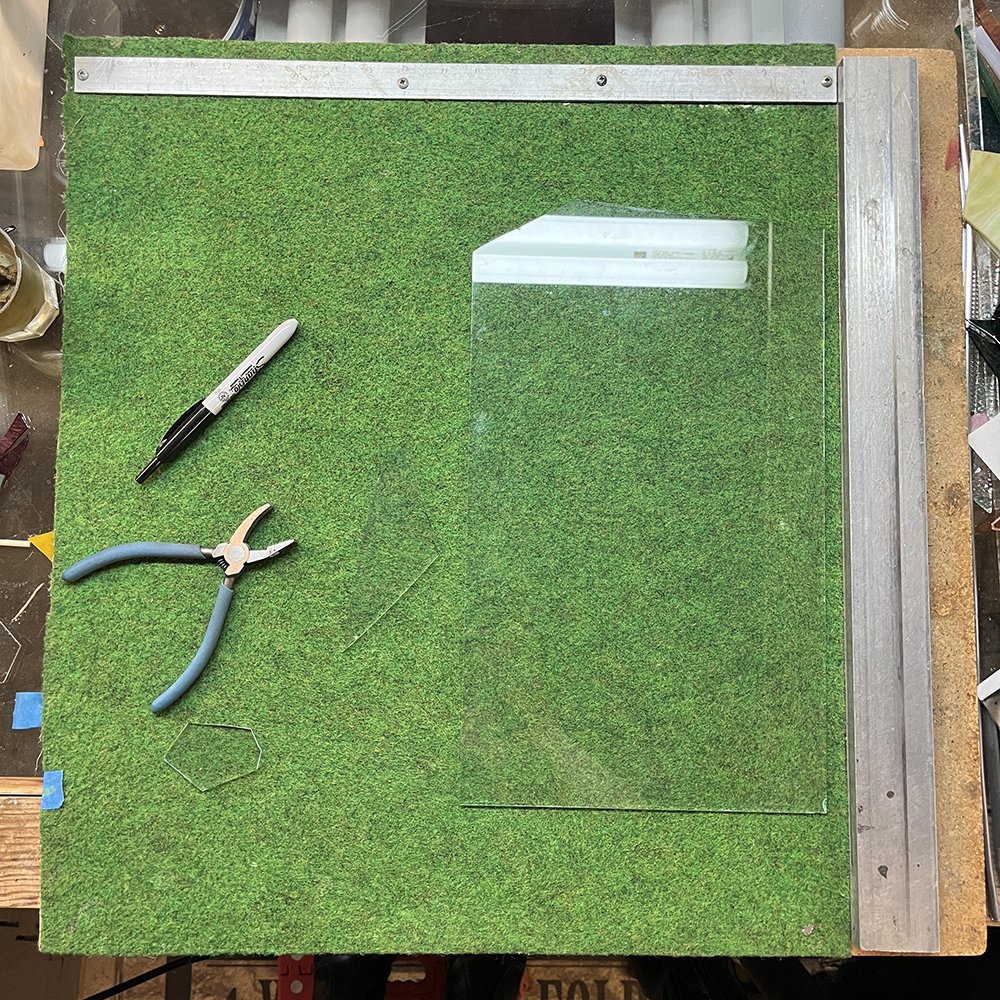
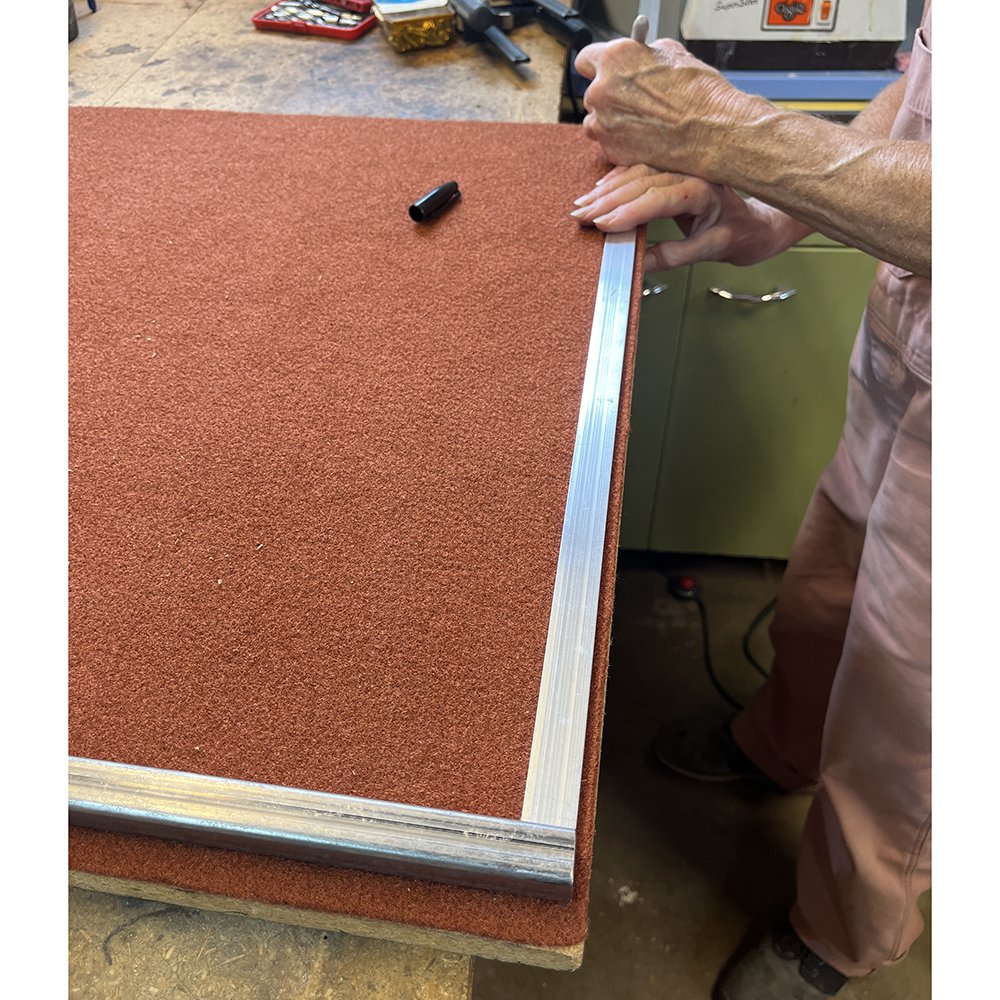
6. Mark the back of the board where the strip cutting bar will be. We decided it was best to have it slightly in from the edge, but not as far in as it is on my mom’s board. This way I would have more cutting surface available.
I’m right handed so I decided it was more comfortable for the bar to be on the right side of the board. My mom’s is also on the right side, even though she is left handed. It wasn’t until making my board that she realized it might actually be more comfortable for her if it was on the left side, but after 40 years she’s just used to crossing her hands over each other when using the strip cutter.
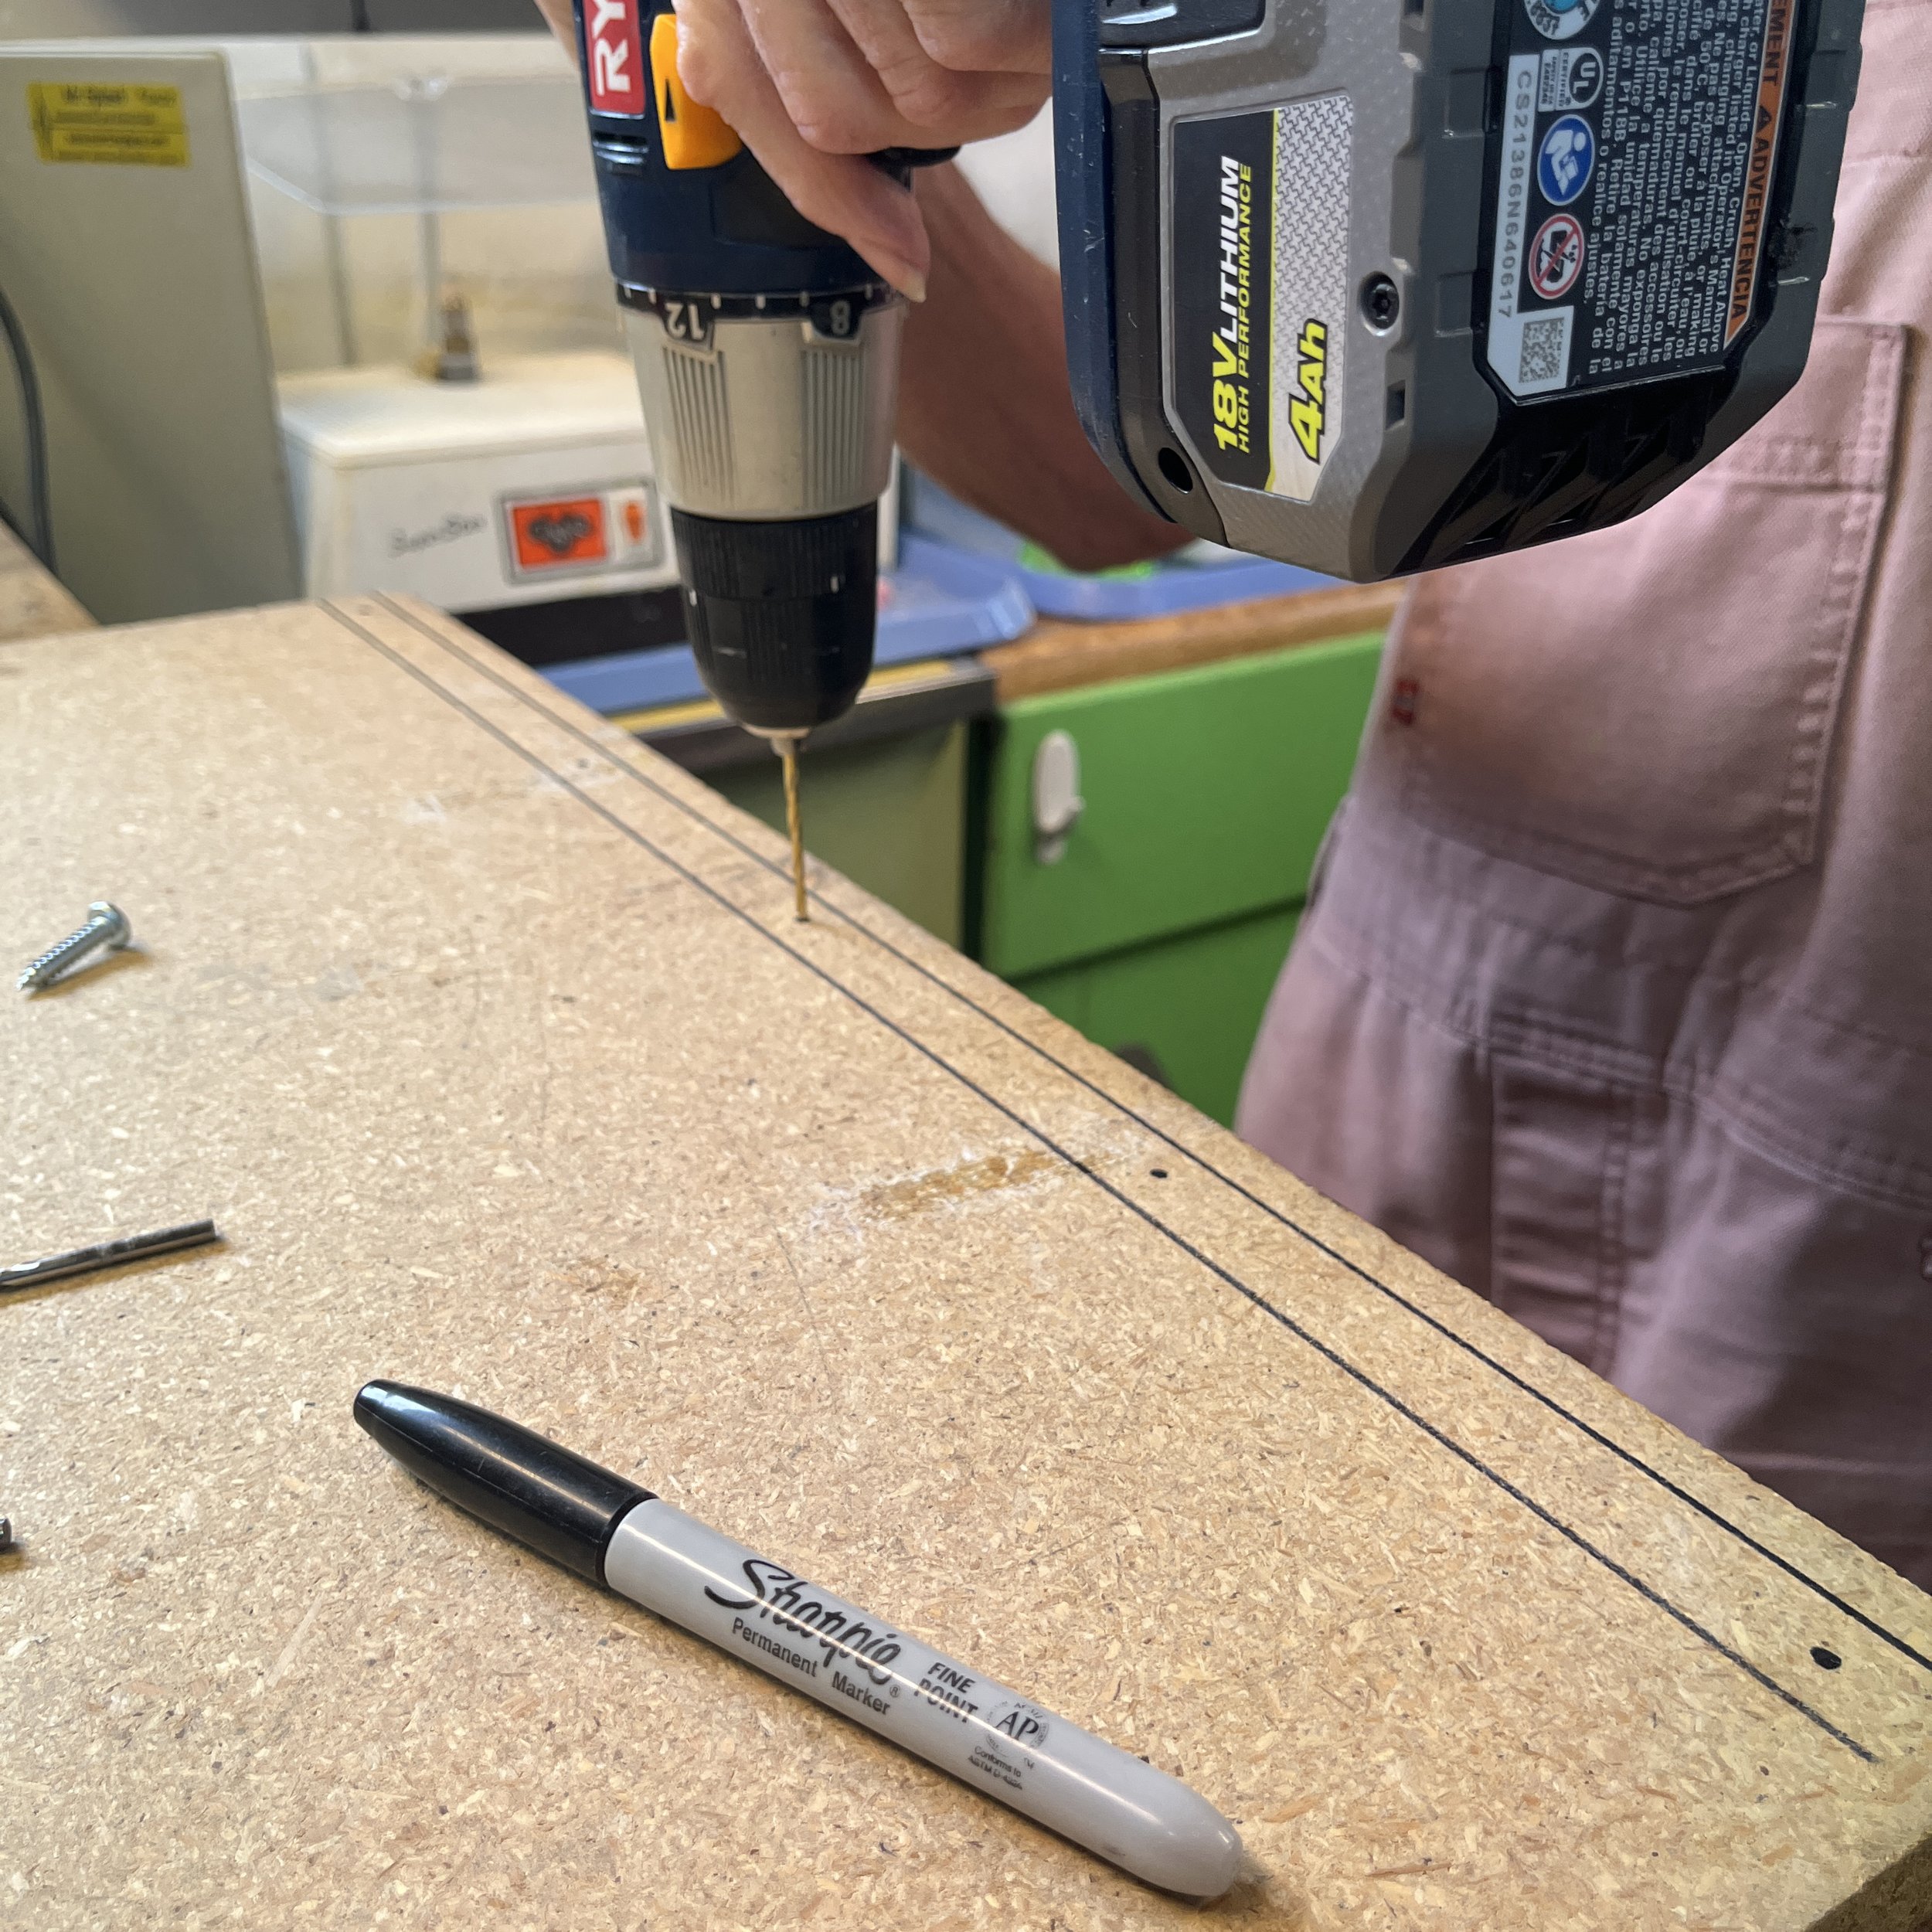
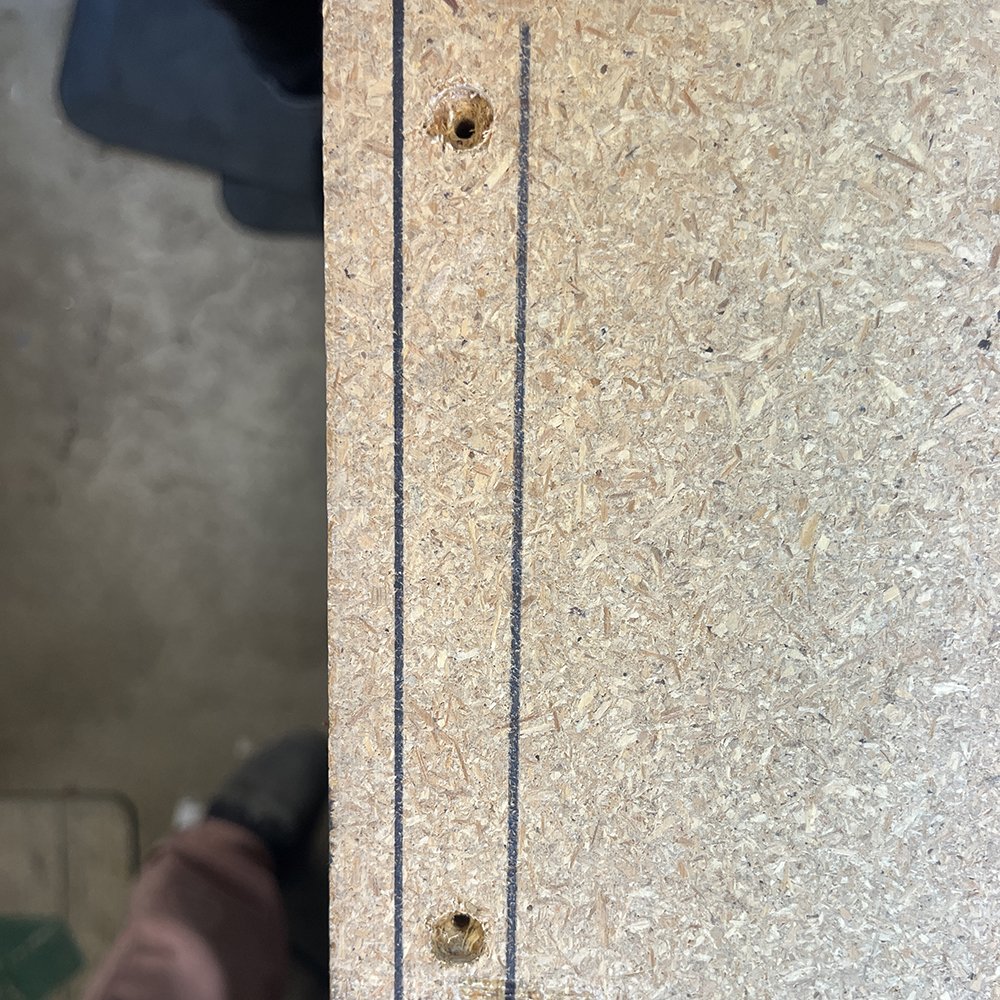
7. Once the placement is marked, drill the holes to the size of the 1” screws. In our opinion it is easier to start with a small drill bit and work your way up to the right size. We used quite a few different sizes for this. Once we got our holes to the right size we went in with a bit the size of the screw head and drilled down just enough so that the screws would be inset. This will help prevent the board from scratching up our light table underneath it and any potential unevenness that the screw heads might cause.
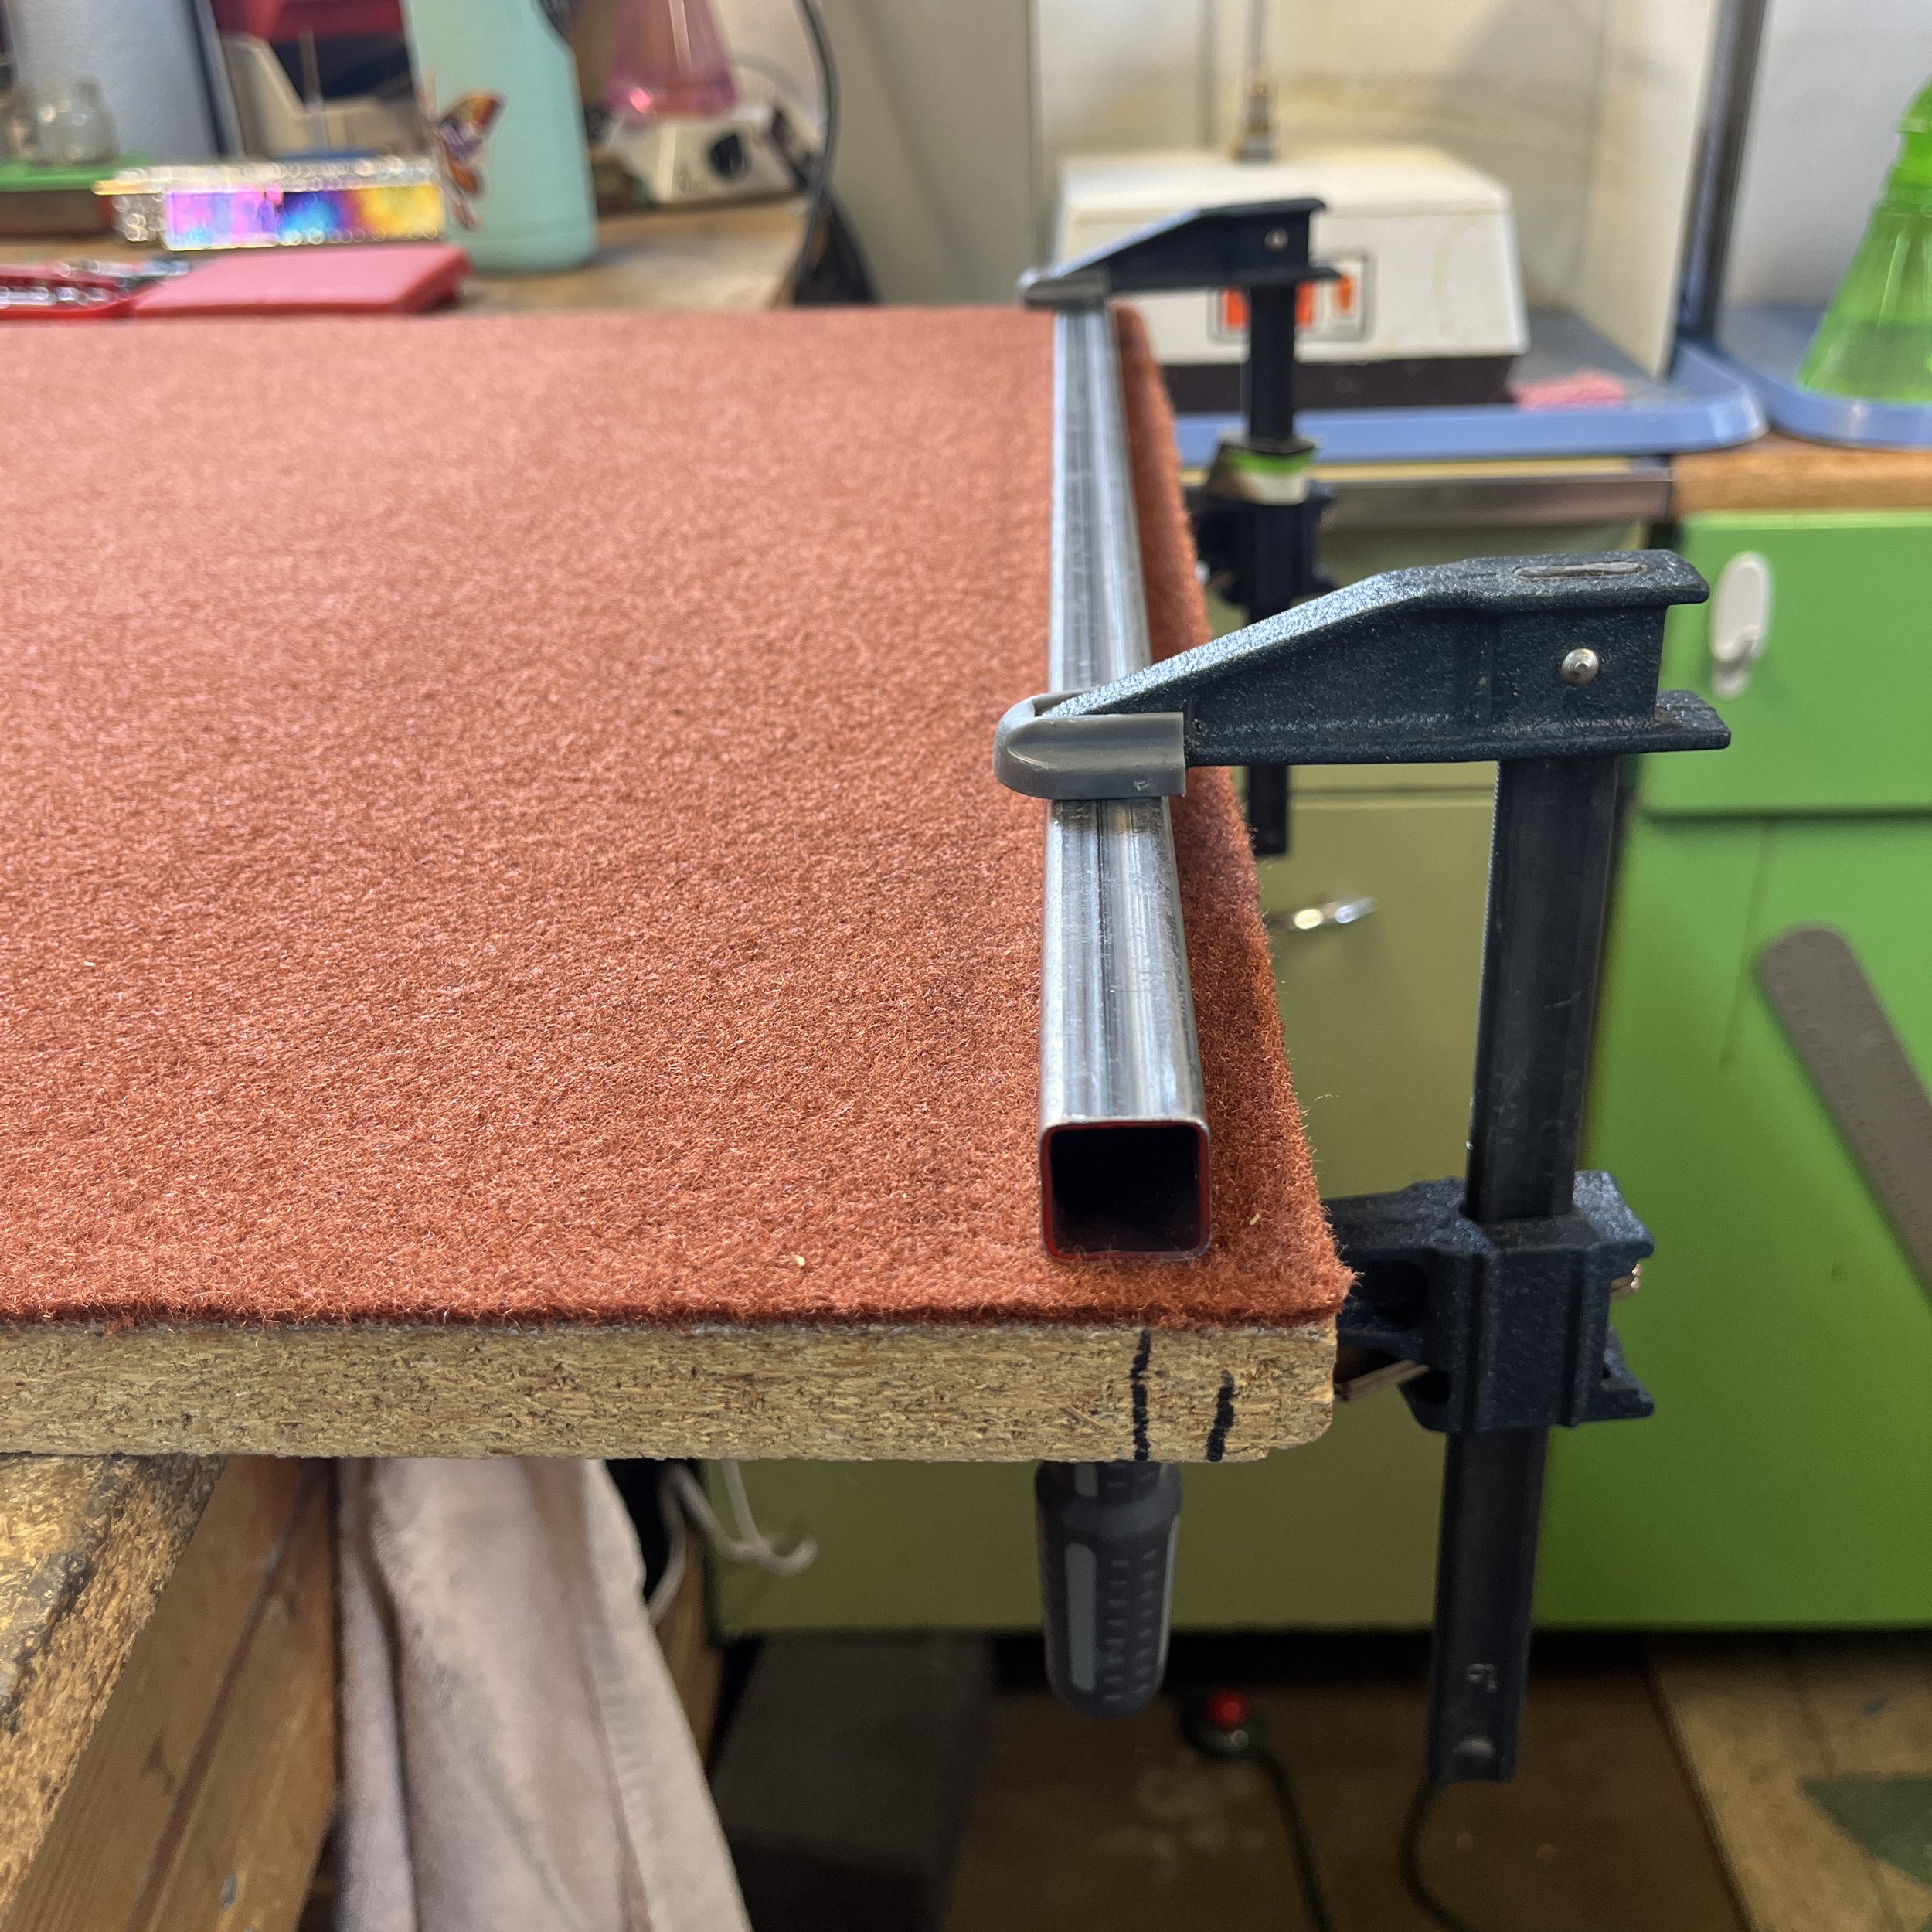
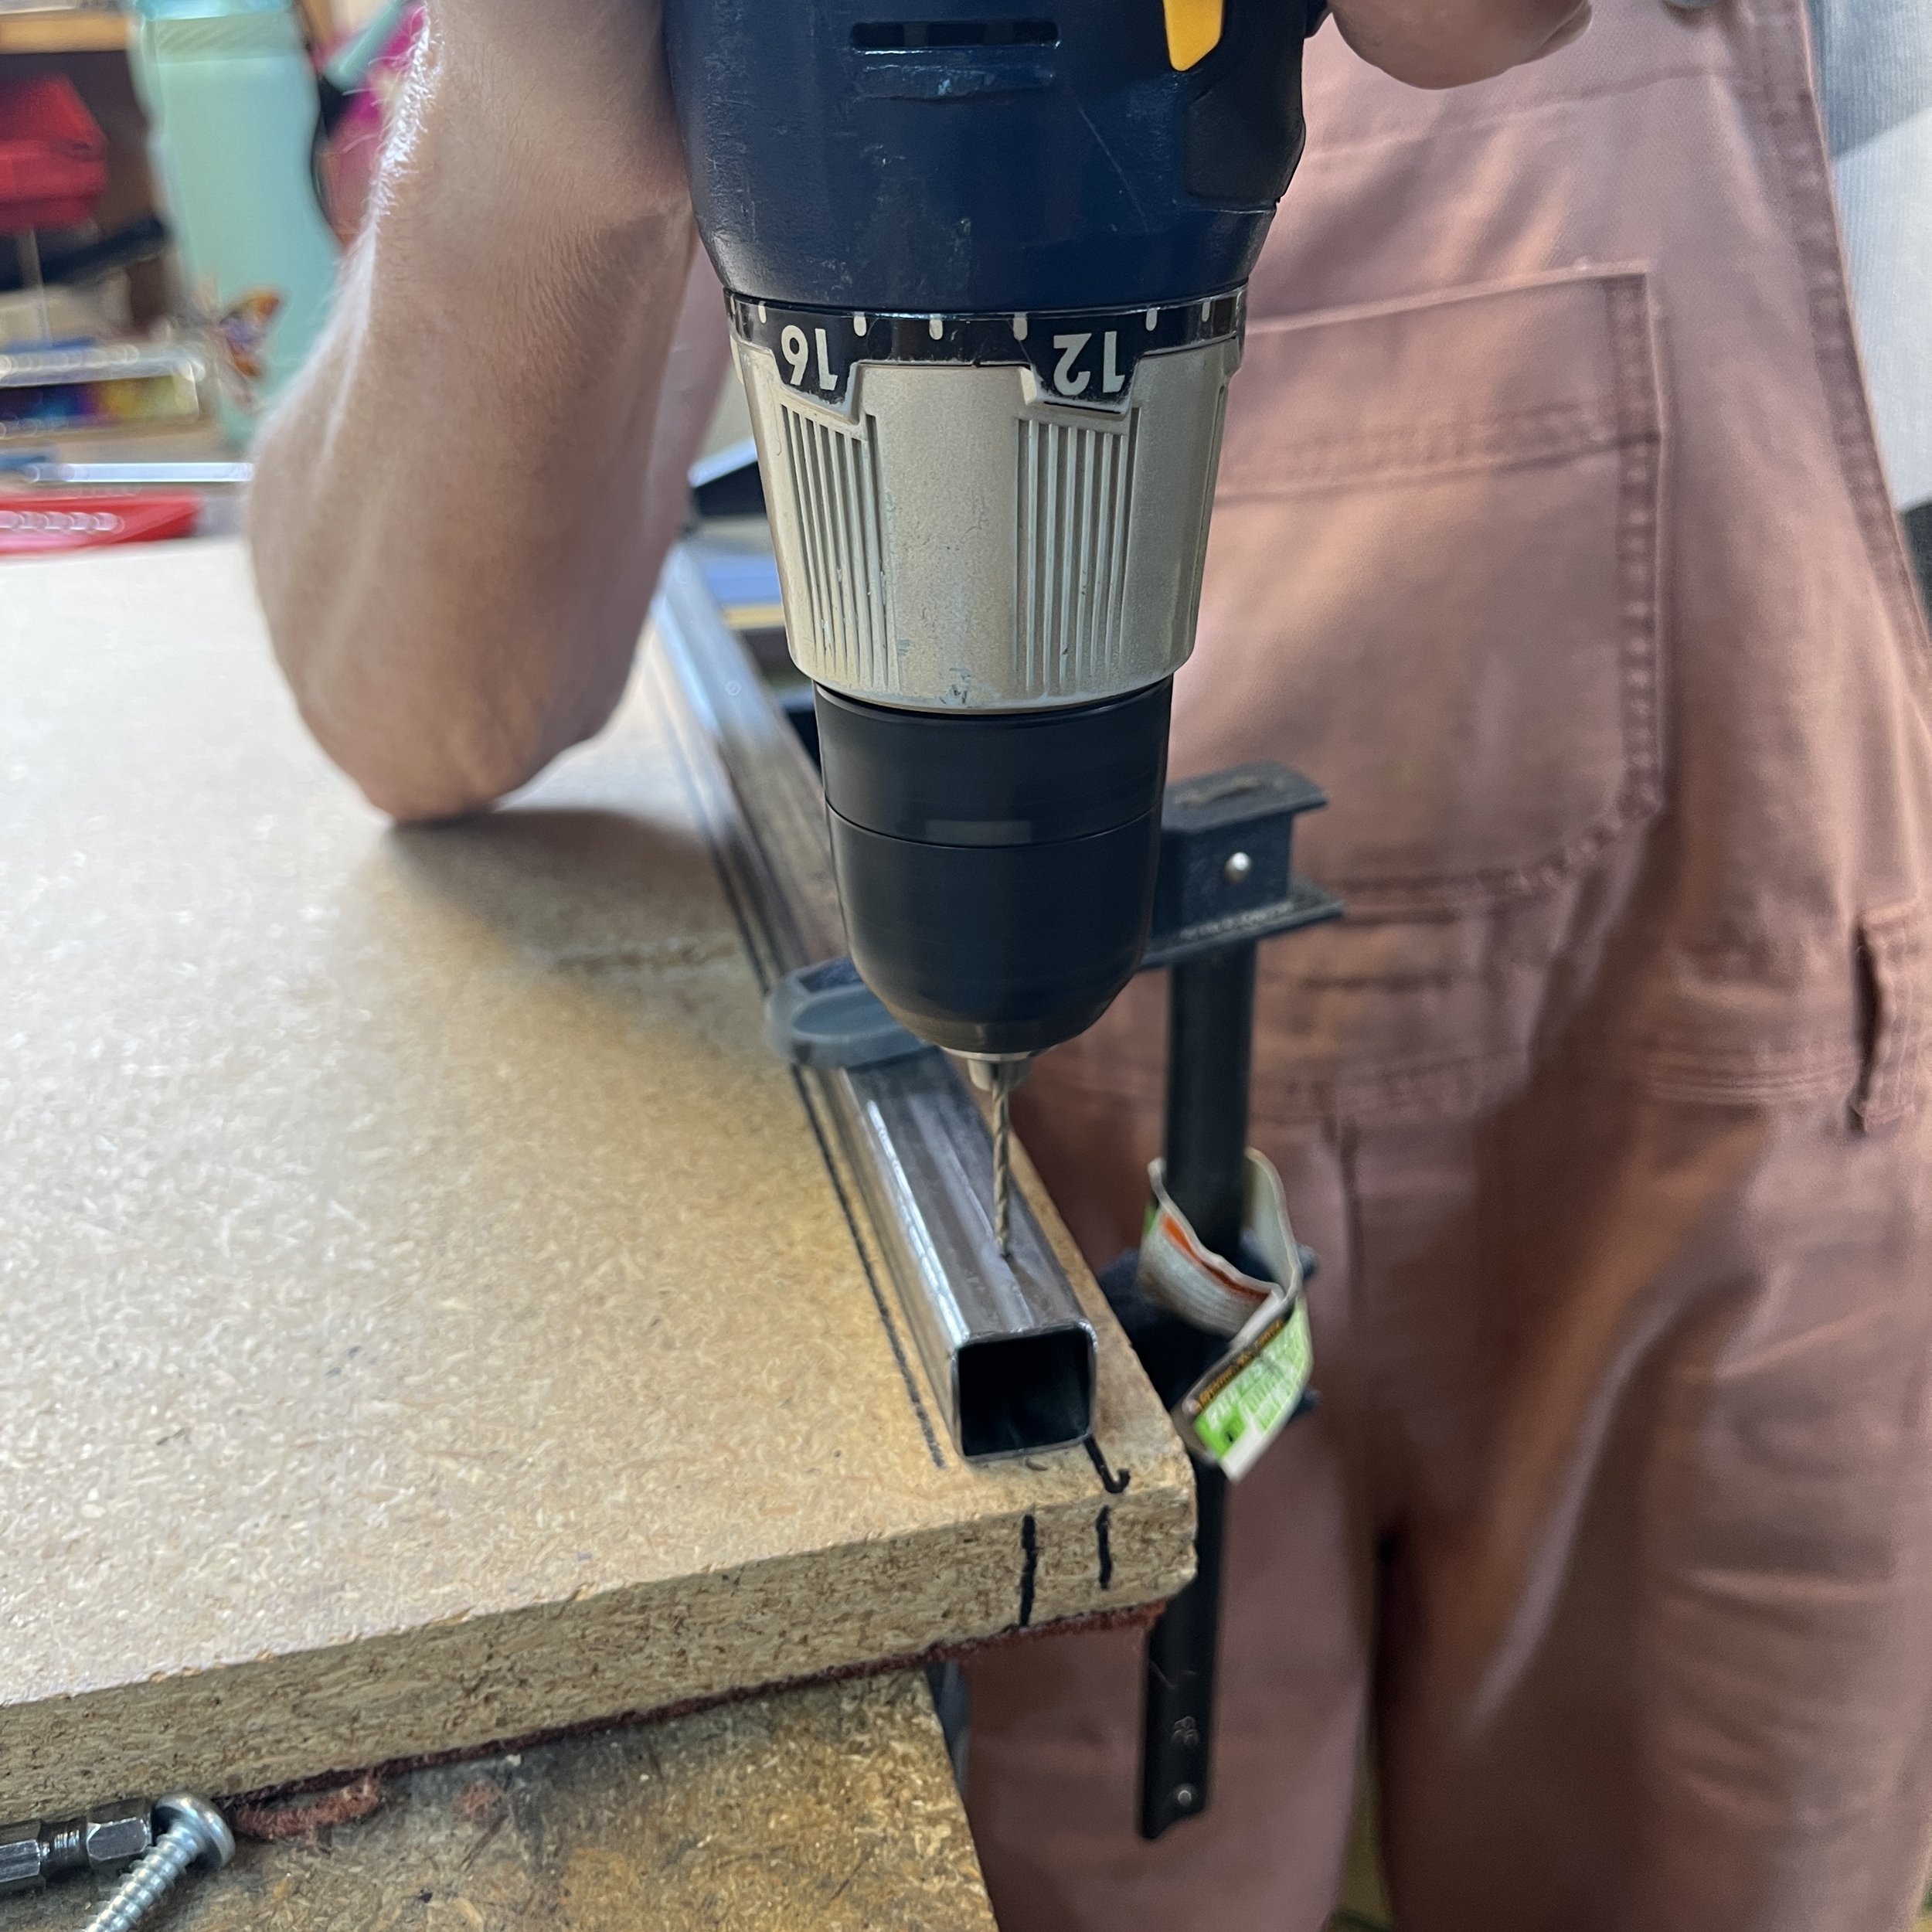
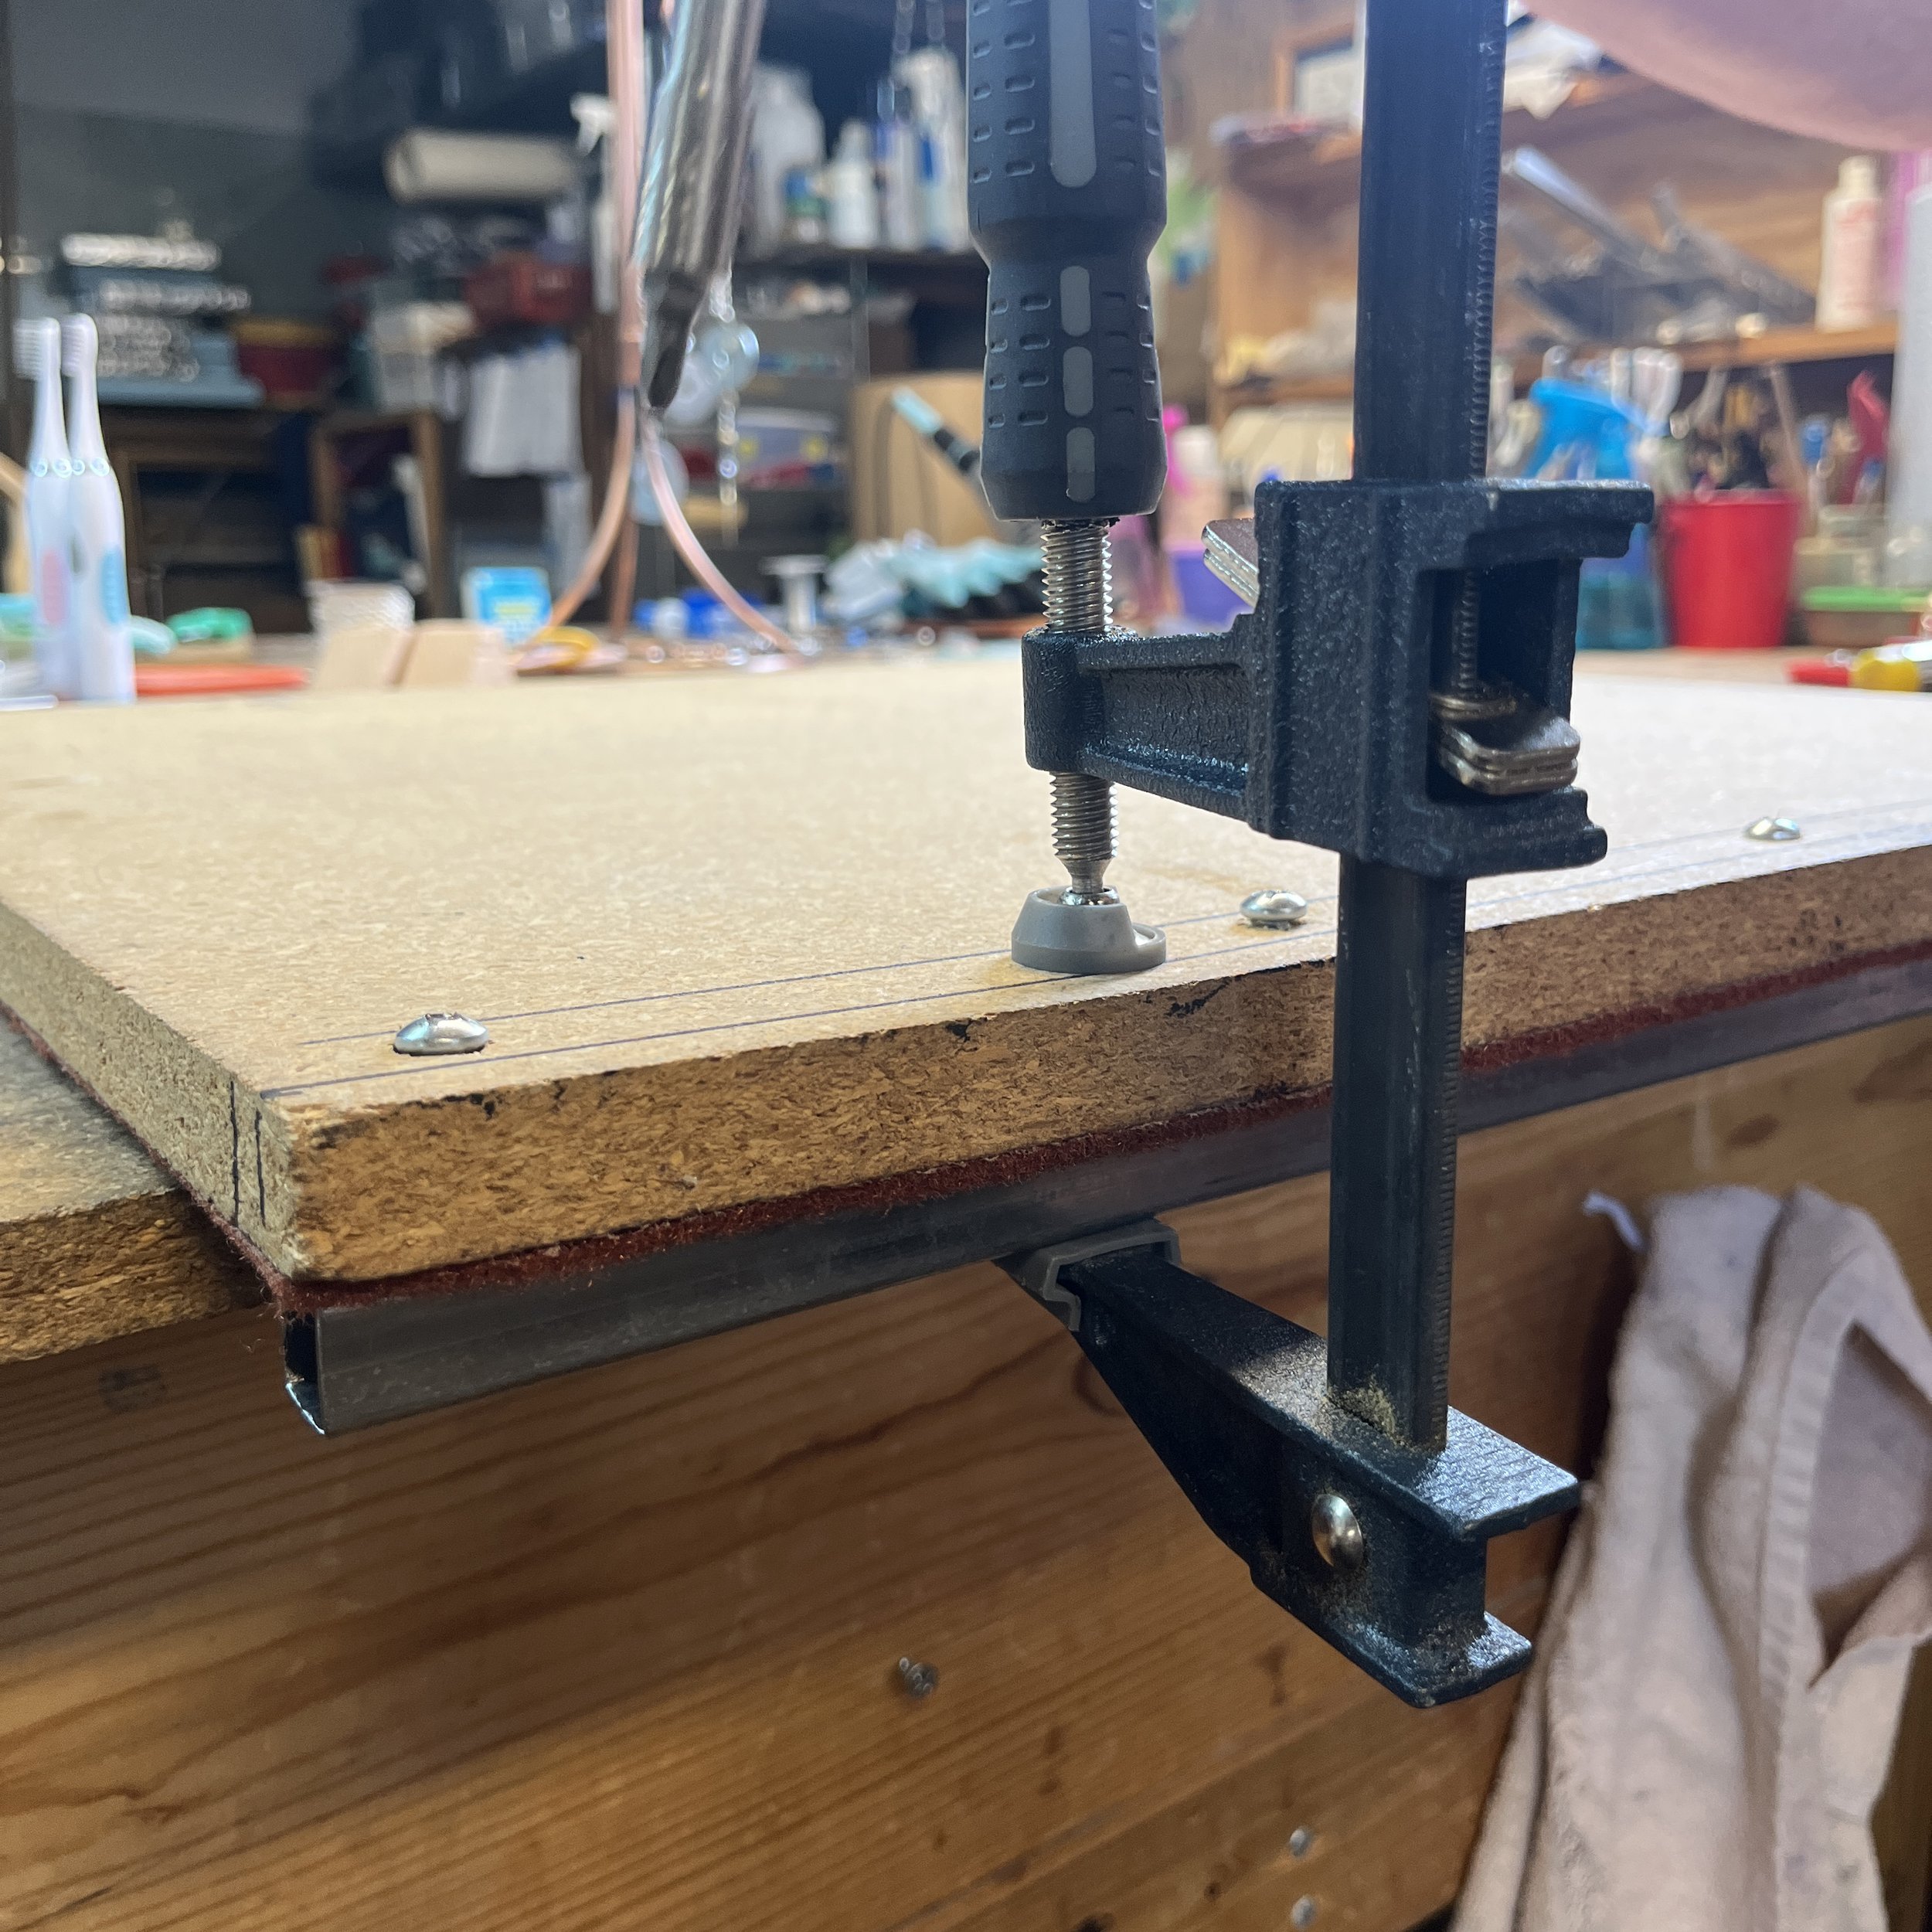
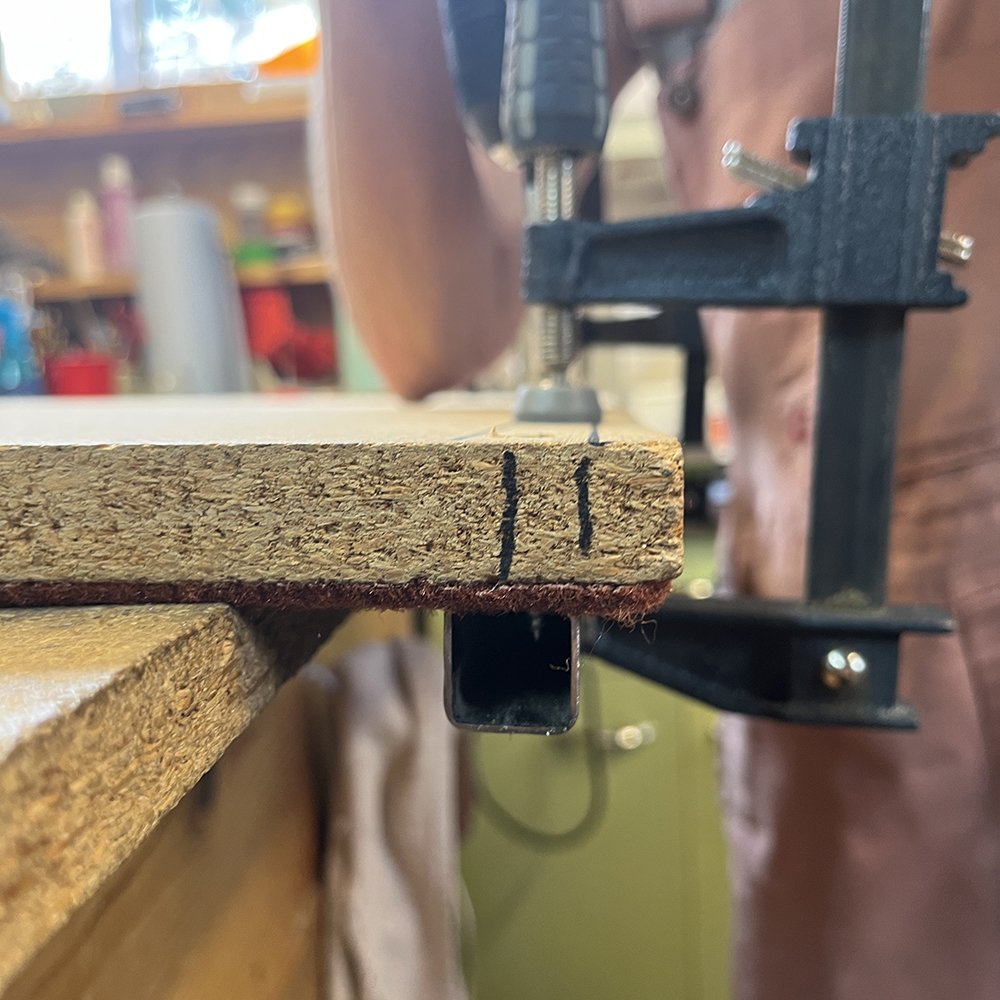
8. Flip the board over and clamp the bar in place. We marked the side of my board approximately where the middle should be so we could have an easier time getting it in place. Once the bar is clamped down tightly, flip the board back over and drill through the already pre-drilled holes to mark the metal bar.
Unclamp the bar from the front and drill the holes where marked. We found it helpful to re-clamp the bar down so it wouldn’t move while drilling. Like with the wood we used multiple sizes of drill bits, I think we used upwards of 8 different ones for this. That may seem like a lot, but it did make it easier to drill through the hard metal and kept things from getting too hot.
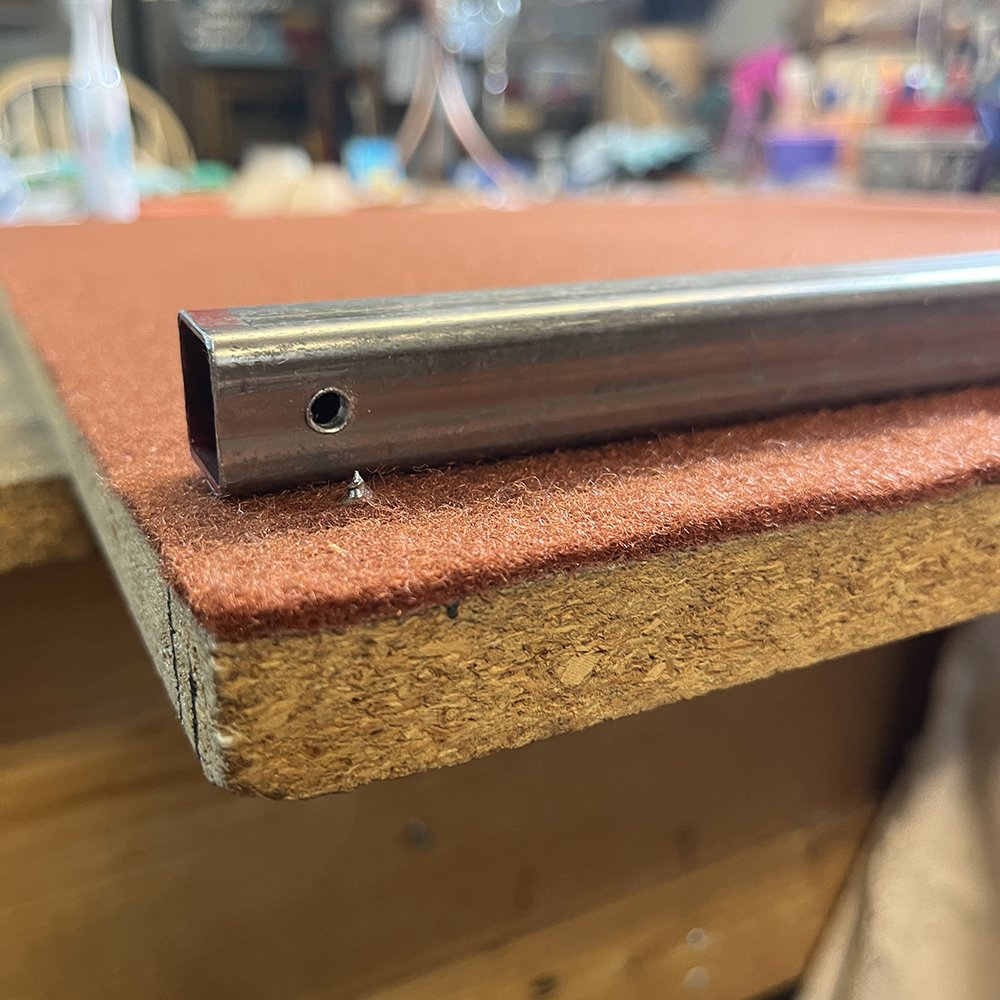
9. Once the holes are drilled, screw in the 1” screws so that they are just popping out of the other side. Flip the board over and line up the holes on the metal bar with the screws. Clamp the bar down tightly and flip back over to finish tightening the screws. Once fully tightened the top of the screws should be inset into the wood.
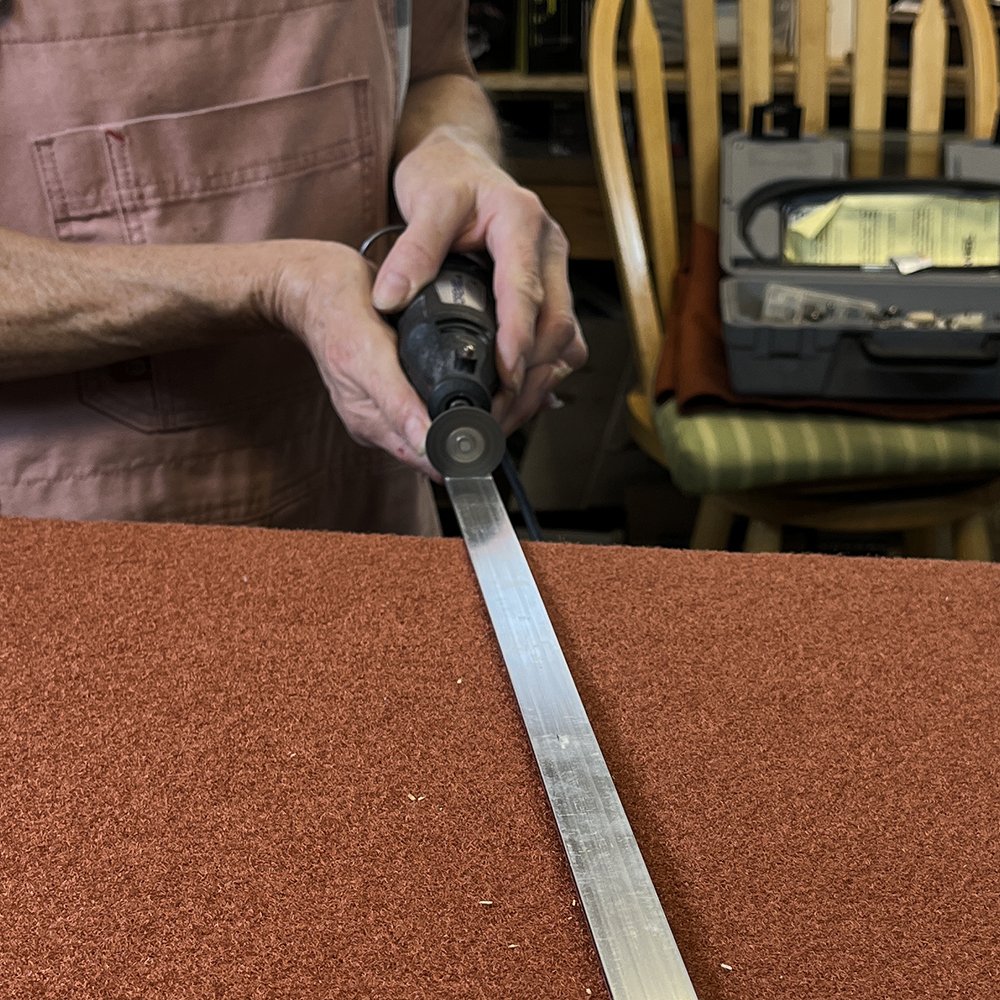
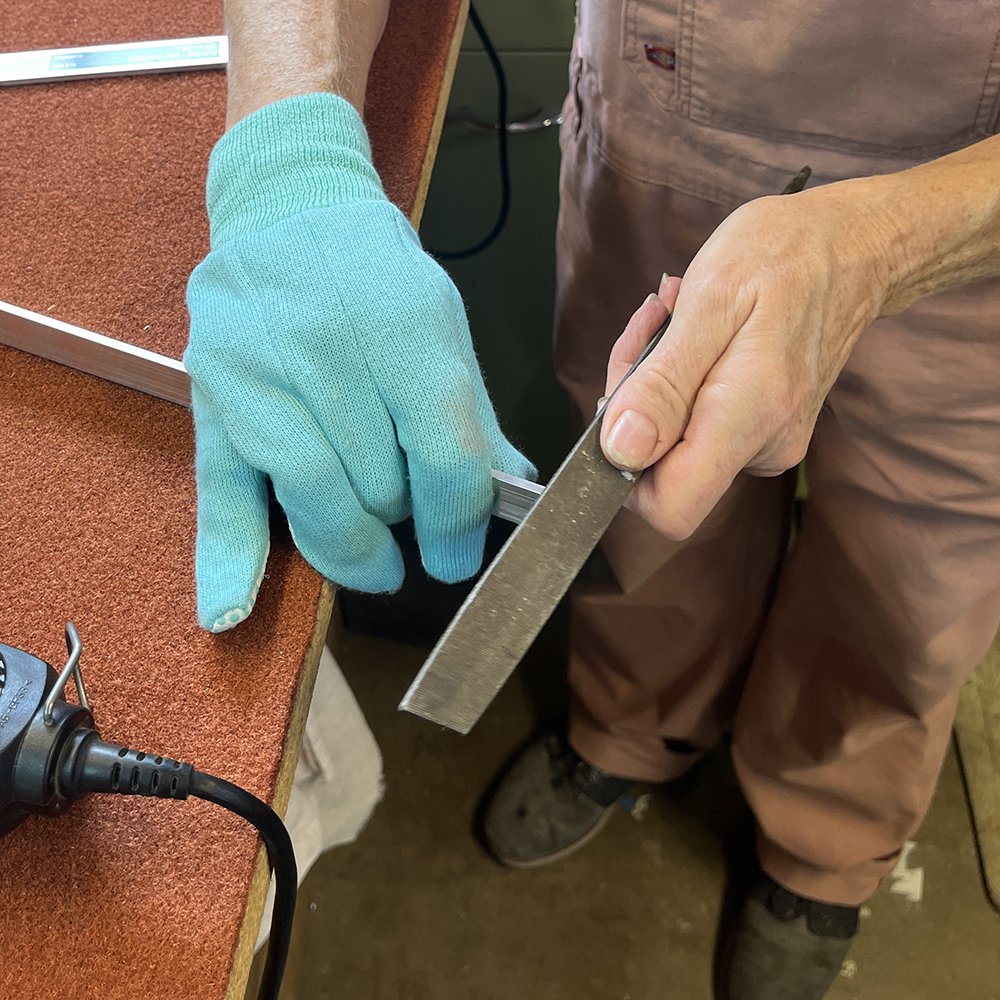
10. I could only find a 3ft long 1/8” thick metal bar, so we again, had to cut it down to size. Line up the end of your bar against the screwed in place straight edge bar and measure where the cut should be. We just eyeballed it, making sure it was slightly shorter than the board to give some room for error. Using our Dremel again we cut it to length and like with our other bar we filed it down to ensure the cut was smooth.
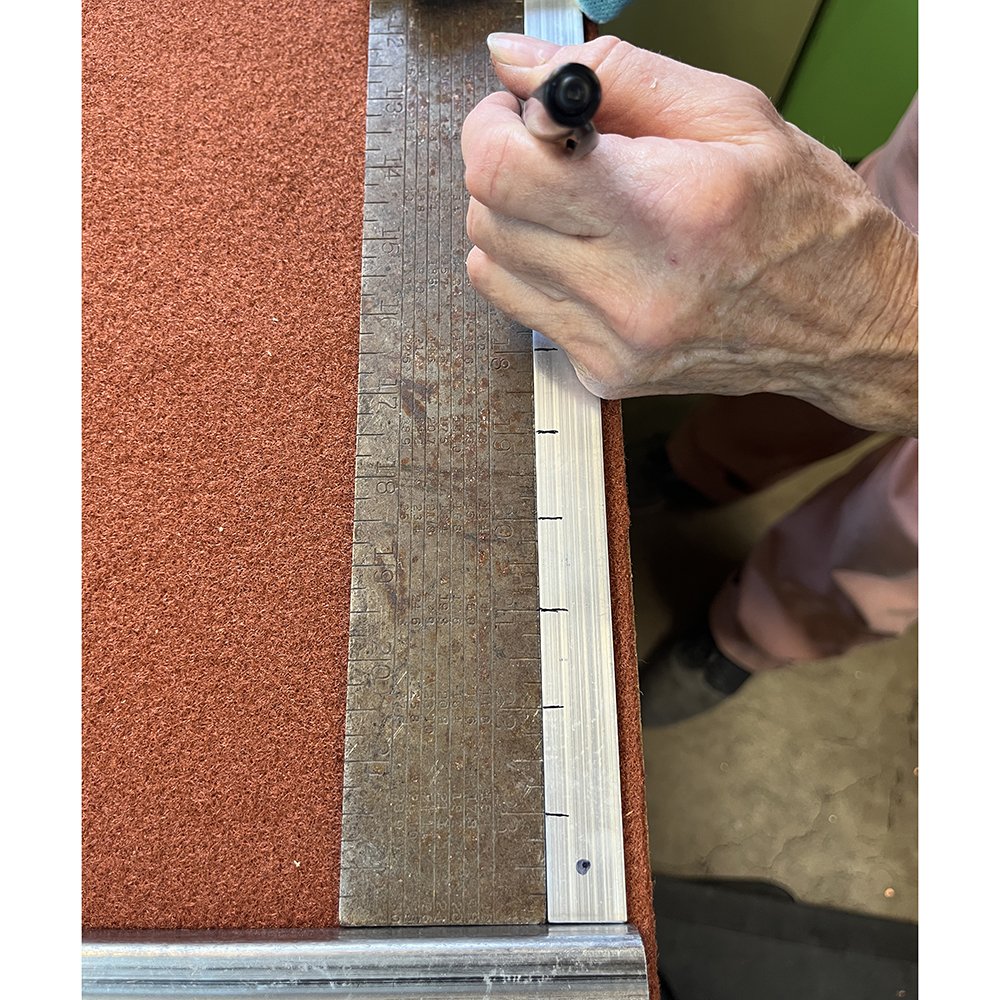
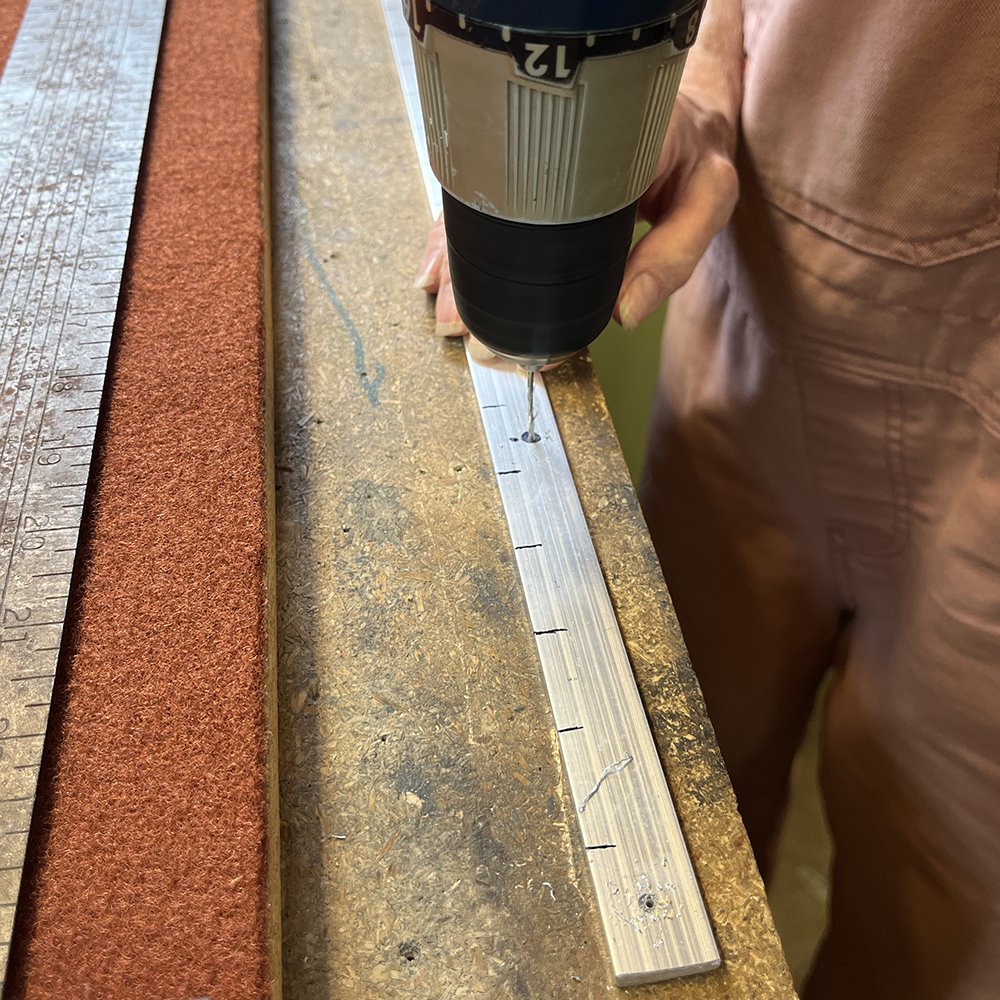
11. Just in case I wanted it later, we decided to mark the bar with 1” incriminates and marked where the screws would go. Marking the measurements is optional, my mom’s was done that way and honestly she never uses it, but I figured why not.
Once the holes are marked, move the bar off the board and drill the holes. We lightly hammered each hole with a nail to get a pilot hole and then again we used multiple sizes of drill bits to get the holes to the correct size.
12. Using a right angle to ensure it is squared up, get the metal bar in place and clamp down tightly (not pictured because we just held it, but this would’ve been easier). Drill all 5 holes into the wood through the pre-drilled holes in the metal and then screw in all the 3/4” screws.
The bar I got is aluminum so we noticed that if we screwed it down too tightly it waved a bit, so we loosened up the screw until it all laid flat. Just something to be aware of if you buy a softer metal like I did.

That’s it! You now have a nice new cutting board to work on with a straight edge to use a strip cutter.
Although we can use a bench brush on it, we like to keep a vacuum next to our cutting table so we can just vacuum up any chips instead of sweeping them off to the side.